
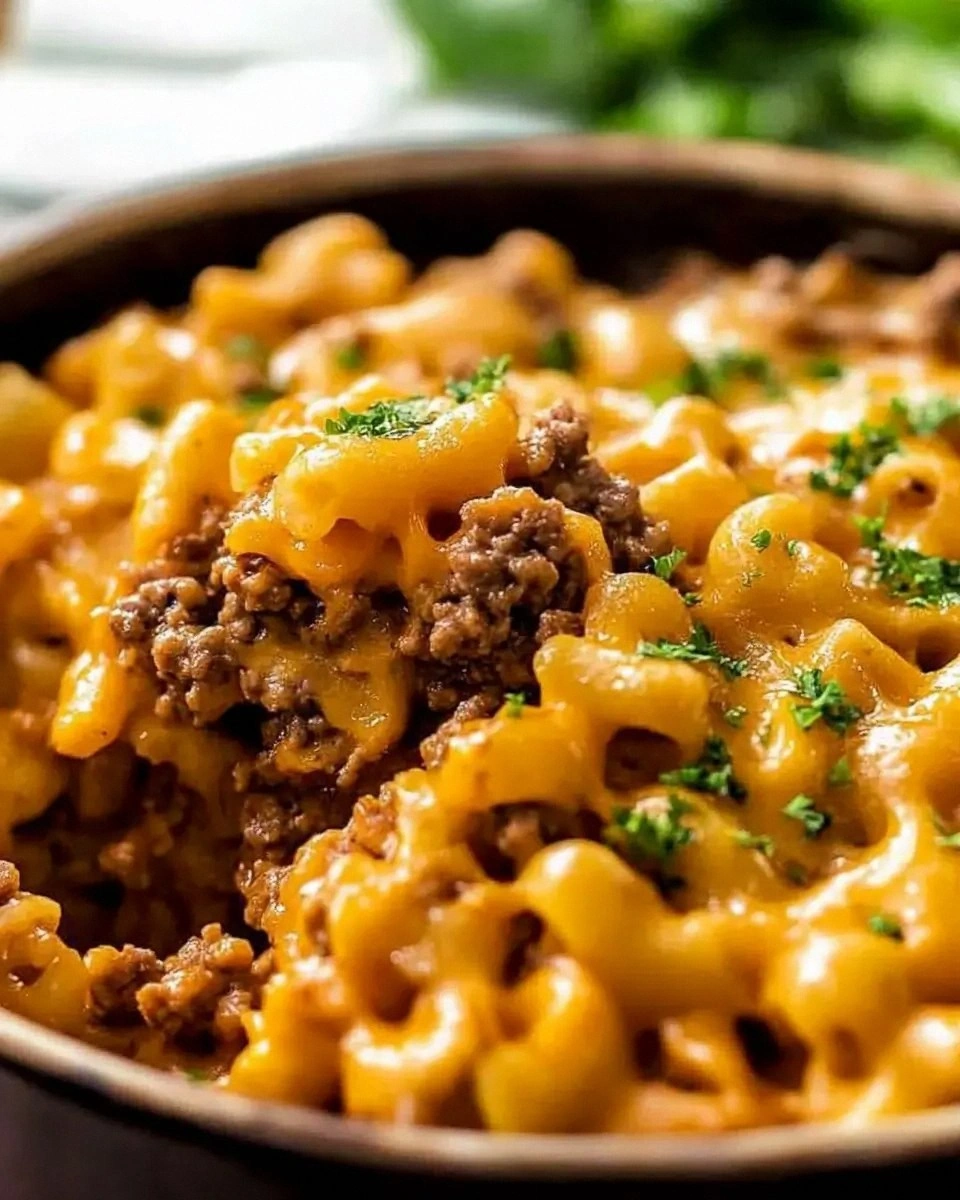
Crispy, cheesy tortillas packed with smoky chicken, sweet corn, and hearty black beans – a fiesta for your taste buds.

I still remember the first time I tasted a street‑style quesadilla in a bustling market in Oaxaca. The sizzle of the tortilla hitting a hot griddle, the aroma of melted cheese mingling with smoky chicken, and the burst of sweet corn and earthy black beans created a memory that has lingered in my kitchen ever since. That moment sparked a lifelong love affair with Mexican comfort food, and over the years I’ve experimented with countless variations, always chasing that perfect balance of texture and flavor.
Chicken quesadillas are a beloved staple across the Americas, bridging the gap between quick weeknight meals and festive gatherings. Traditionally, they feature simple ingredients—tortillas, cheese, and a protein—but the addition of black beans and corn transforms the dish into a hearty, nutritionally balanced plate that satisfies both kids and adults.
In this guide, I’ll walk you through every step, from selecting the freshest chicken to mastering the art of a golden, crispy tortilla. You’ll learn why each spice matters, how to adjust the recipe for any number of guests, and the little tricks that keep the cheese perfectly melted without turning soggy.
So roll up your sleeves, preheat that skillet, and let’s create a quesadilla experience that will have everyone asking for seconds.
🌟 Why This Recipe Will Win Your Heart
Whether you’re feeding a family, hosting a game night, or simply craving comfort, these quesadillas deliver flavor, nutrition, and ease in one beautiful package.
- ✨ Balanced Protein & Fiber: The combination of chicken, black beans, and corn gives you a complete source of protein and fiber, keeping you full longer without feeling heavy.
- ✨ Customizable Heat: You can dial the spice level up or down with just a pinch of chili flakes or a splash of hot sauce, making it perfect for spice lovers and kids alike.
- ✨ One‑Pan Simplicity: All components can be prepared on the same stovetop, minimizing cleanup while maximizing flavor development.
- ✨ Colorful Presentation: The vibrant reds, yellows, and greens create a visual feast that looks as good on the plate as it tastes.
- ✨ Freezer‑Friendly: Make a big batch, freeze the assembled quesadillas, and reheat for a quick lunch or dinner on busy days.
- ✨ Crowd‑Pleaser: The familiar cheese pull, crunchy exterior, and hearty filling make this dish a guaranteed hit at any gathering.
🥗 Ingredients
📝 Complete Ingredient List
For the Filling:
For the Assembly:
For the Creamy Sauce (optional):

🔍 Focus on Key Ingredients
Shredded Chicken
The chicken provides lean protein and a mild flavor that absorbs the cumin and cilantro beautifully. For maximum juiciness, use a rotisserie chicken or poach boneless, skinless breasts in a light broth, then shred while still warm.
Black Beans
Black beans add earthy depth and a creamy texture that contrasts with the crunchy tortilla. Rinse canned beans thoroughly to remove excess sodium and any metallic aftertaste.
Corn Kernels
Sweet corn introduces a pop of natural sweetness and a pleasant crunch. If using frozen corn, thaw and pat dry to avoid excess moisture that could make the quesadilla soggy.
Monterey Jack & Cheddar
Monterey Jack melts smoothly while cheddar adds a sharp bite. The blend ensures a gooey pull and a flavor complexity that elevates the entire dish.
🔄 Quick Substitutions
| If you don’t have... | Use instead... |
|---|---|
| Flour tortillas | Whole‑wheat or corn tortillas |
| Monterey Jack | Queso Oaxaca or mozzarella |
| Black beans | Pinto beans or chickpeas |
| Cilantro | Fresh parsley or a squeeze of lime |
👨🍳 Step‑by‑Step Instructions
Follow these detailed steps to create perfectly crisp quesadillas with a melty interior. Feel free to pause after each phase to taste and adjust seasonings.
📋 Phase 1: Preparation & Mise en Place
Gather all ingredients, prep the filling, and set up your cooking station.
Shred the Chicken
Take the cooked chicken and, using two forks, pull it apart into thin strips. If you’re using a rotisserie bird, let it cool just enough to handle, then shred directly onto a large mixing bowl. The pieces should be bite‑size, allowing even distribution throughout each quesadilla.
Combine Filling Ingredients
Add the black beans, corn kernels, diced red bell pepper, chopped cilantro, and ground cumin to the bowl of shredded chicken. Sprinkle with salt and pepper to taste. Toss everything gently until the mixture is evenly coated. The cumin should be fragrant but not overpowering.
🔥 Phase 2: Cooking & Assembly
Heat the pan, build each quesadilla, and achieve that golden crust.
Heat the Skillet
Place a large non‑stick skillet over medium‑high heat and add 1 tablespoon of olive oil. Allow the oil to shimmer—this indicates the pan is hot enough to sear the tortillas without sticking.
Assemble the First Quesadilla
Lay one tortilla flat in the skillet. Sprinkle half of the Monterey Jack and half of the cheddar evenly over the surface, then spoon about ¼ of the chicken‑bean‑corn mixture onto one half of the tortilla. Fold the tortilla over the filling, pressing gently with a spatula to seal.
Cook Until Golden
Cook for 2‑3 minutes, watching the edges turn a deep amber. Flip carefully and cook the other side for another 2‑3 minutes, until the cheese is fully melted and the tortilla is crispy. Remove and repeat with the remaining tortillas and filling.
✨ Phase 3: Finishing & Plating
Check doneness, slice, and serve with optional sauce.
Check for Melted Cheese
Lift the edge of a quesadilla with a spatula; the cheese should be fully melted and oozing slightly. If any pockets of unmelted cheese remain, return the quesadilla to the skillet for a few extra seconds.
Slice and Plate
Transfer the cooked quesadillas onto a cutting board. Using a sharp pizza cutter or a large knife, cut each into 3‑4 wedges. Arrange the wedges on a serving platter, overlapping slightly for visual appeal.
Serve with Sauce
Whisk together sour cream, salsa verde, and lime juice in a small bowl. Drizzle the sauce over the quesadilla wedges or serve it on the side for dipping. Garnish with a sprinkle of fresh cilantro and a wedge of lime for an extra burst of freshness.
💡 Expert Tips & Tricks
🛒 Choosing the Best Ingredients
Opt for free‑range chicken for richer flavor, and look for black beans that are firm and not mushy. Fresh corn off the cob offers the sweetest bite, but if you use frozen, make sure it’s fully thawed and patted dry. When selecting cheese, choose blocks and grate yourself; pre‑shredded cheese often contains anti‑caking agents that can affect meltability.
🔪 Preparation Techniques
Dice the red bell pepper uniformly so it cooks evenly with the beans and corn. Use a large bowl for mixing the filling; this prevents spillage and allows you to see the distribution of colors. For the tortillas, warm them briefly in the microwave (10 seconds) before assembling to make them pliable and less likely to tear.
🌡️ Mastering the Cooking Process
Maintain medium‑high heat; too low and the tortilla will absorb oil and become soggy, too high and it will burn before the cheese melts. If you notice the tortilla browning too quickly, lower the heat and add a splash more oil. A thin layer of oil is enough—excess oil leads to greasy quesadillas.
🍽️ Presentation & Service
Arrange the wedges in a fan shape on a large platter, drizzle a thin line of salsa verde across the top, and sprinkle fresh cilantro leaves for color contrast. Serve with lime wedges and a side of guacamole for added richness. A simple garnish of sliced jalapeños can add a pop of heat for adventurous eaters.
🏆 Pro Tips
Elevate your quesadilla game from good to restaurant‑level with these professional insights.
- 🎯 Heat‑Controlled Searing: Use a cast‑iron skillet for consistent heat distribution. Preheat the pan for at least 2 minutes; the metal’s thermal mass ensures a uniform sear, preventing hot spots that cause uneven browning.
- 🎯 Layered Cheese Technique: Sprinkle a thin layer of Monterey Jack first, then add the filling, and finish with cheddar on top. This creates a barrier that locks moisture inside the tortilla while allowing the cheddar to brown beautifully.
- 🎯 Portion Scaling Precision: When adjusting servings, increase the filling ingredients proportionally but keep the tortilla count per serving consistent (2 tortillas per person). This maintains texture balance and prevents over‑stuffing.
- 🎯 Moisture Management: Pat the corn and beans dry with a paper towel before adding them to the filling. Excess water creates steam that can make the tortilla soggy, undermining the crisp exterior.
- 🎯 Rest Before Cutting: Let the quesadillas rest for 2 minutes after cooking. This allows the cheese to set slightly, reducing the risk of it spilling out when you slice.
- 🎯 Finish with a Butter Glaze: Brush the cooked quesadillas lightly with melted butter mixed with a pinch of smoked paprika for an extra layer of flavor and a glossy finish.
“The secret to a great quesadilla is respecting the tortilla—treat it like a canvas, not a wrapper.” — Chef Elena Ramirez
🔄 Variations & Adaptations
This base recipe is a versatile canvas. Feel free to experiment with proteins, spices, and dietary tweaks to suit any palate.
🥬 Vegetarian/Vegan Version
Replace the chicken with 2 cups of shredded jackfruit or firm tofu marinated in smoked paprika and lime. Use vegan cheese blends (such as cashew‑based mozzarella) and swap sour cream for a cashew‑cream sauce. The black beans and corn remain the heart of the dish, providing protein and texture.
- Jackfruit offers a shredded‑meat texture that absorbs flavors beautifully.
- Vegan cheese should be added just before folding to ensure a melt without separating.
🌶️ Flavor Variations
Explore regional twists by swapping or adding ingredients. Each variation can be prepared using the same assembly method.
Spicy Chipotle Version
Stir in 1‑2 teaspoons of chipotle in adobo sauce into the filling, and drizzle a chipotle‑aioli on the side. The smoky heat pairs wonderfully with the sweet corn.
Mediterranean Version
Replace cumin with dried oregano, add crumbled feta cheese, and include sliced kalamata olives in the filling. Serve with tzatziki instead of the sour‑cream sauce.
Asian Fusion Version
Swap cumin for toasted sesame oil, add shredded carrots and a splash of soy sauce to the filling, and serve with a sriracha‑lime mayo. Garnish with sliced scallions and toasted sesame seeds.
⚠️ Dietary Adaptations
Gluten‑Free
Use corn or gluten‑free flour tortillas. Ensure the cheese and any added sauces are certified gluten‑free.
Lactose‑Free
Swap dairy cheeses for lactose‑free alternatives (such as Daiya) and replace sour cream with lactose‑free yogurt or a cashew‑based dip.
Low‑Calorie
Reduce the cheese by half, use low‑fat shredded chicken, and replace olive oil with a light spray of cooking oil. Serve with a fresh salsa fresca instead of a creamy sauce.
👶 Kid‑Friendly Version
Omit the cumin and bell pepper for milder flavor. Use mild cheddar only, and cut the quesadillas into smaller, bite‑size triangles. Serve with a simple ketchup or mild salsa for familiar tastes.
📦 Storage & Reheating
🧊 Conservation
Refrigerator
- Duration: 3 days
- Recommended container: Airtight glass or BPA‑free plastic container
- Tip: Place a paper towel between stacked quesadillas to absorb moisture.
Freezer
- Duration: 2 months
- Method: Wrap each quesadilla individually in parchment paper, then place in a freezer‑safe zip‑lock bag.
- Defrosting: Transfer to the refrigerator overnight or use the microwave’s defrost setting for 5‑7 minutes.
💡 For optimal texture, avoid thawing at room temperature, as this can cause sogginess.
♨️ Reheating
🔥 Oven (Recommended)
- Preheat to 190°C (375°F).
- Place quesadillas on a baking sheet lined with parchment.
- Cover loosely with aluminum foil to prevent over‑browning.
- Reheat for 10‑12 minutes, then remove foil and bake an additional 3‑4 minutes for crispness.
⚡ Microwave (Quick)
- Place quesadilla on a microwave‑safe plate.
- Cover with a microwave‑safe lid or paper towel.
- Heat on medium power for 45 seconds, flip, then heat another 30‑45 seconds.
- Check for melt; if needed, add another 10 seconds.
🍳 Skillet
Heat a non‑stick skillet over medium heat, add a thin drizzle of oil, and warm each side for 2‑3 minutes until the cheese re‑melts and the tortilla regains its crisp.
🍷 Perfect Pairings
🥗 Side Dishes
- Mexican Street Corn Salad: Char‑grilled corn tossed with mayo, cotija, chili powder, and lime adds a creamy, tangy contrast.
- Avocado Lime Slaw: Shredded cabbage, carrots, and ripe avocado dressed in lime vinaigrette provides crunch and freshness.
- Black Bean & Tomato Salsa: A chunky salsa with black beans, cherry tomatoes, red onion, and cilantro brightens the plate.
🍷 Wine & Beverage Pairings
- Albariño (Spain): Its bright acidity and subtle fruit notes cut through the richness of cheese.
- Riesling (Off‑dry): The slight sweetness balances the spice and corn sweetness.
- Non‑Alcoholic: Sparkling agua fresca with cucumber and mint refreshes the palate.
🍰 To Complete the Meal
Start with a light citrus‑y ceviche or a chilled gazpacho. Follow the quesadillas with a tropical fruit salad drizzled with honey‑lime dressing. Finish with a scoop of cinnamon‑spiced churro ice cream for a sweet, indulgent finale.
❓ Frequently Asked Questions
Q: Can I use corn tortillas instead of flour?
A: Absolutely! Corn tortillas give a more authentic Mexican texture and a slightly nuttier flavor. Just be mindful that they are thinner, so handle them gently during assembly. You may want to lightly brush them with oil before cooking to prevent tearing.
Q: How do I prevent the quesadilla from becoming soggy?
A: The key is moisture control. Pat dry the corn and beans before mixing, avoid over‑filling, and ensure the skillet is hot enough to sear quickly. Also, let the cooked quesadillas rest on a wire rack for a minute; this lets excess oil drain away.
Q: What’s the best way to store leftover cheese?
A: Keep shredded cheese in an airtight container in the refrigerator. Adding a small piece of parchment paper between layers prevents clumping. For longer storage, freeze cheese in a zip‑lock bag; it will grate easily once thawed.
Q: Can I make these quesadillas ahead of time for a party?
A: Yes. Assemble the quesadillas, wrap each tightly in parchment, and freeze. When guests arrive, reheat them in the oven for a crisp finish. This method saves time while preserving texture.
Q: I don’t have Monterey Jack; what can I substitute?
A: A blend of mozzarella and a sharper cheese like aged cheddar works well. If you prefer a Mexican flavor, try Oaxaca cheese or even a mild pepper jack for a subtle heat.
Q: How can I make the dish lower in sodium?
A: Choose low‑sodium black beans, rinse them thoroughly, and use unsalted cheese or reduce the amount of cheese slightly. Season with herbs, lime, and spices instead of salt for flavor depth.
🎉 Let’s Get Cooking!
This Chicken Quesadilla recipe blends the comfort of melted cheese with the wholesome goodness of beans and corn, creating a dish that’s both satisfying and adaptable. Whether you’re feeding a family, impressing friends at a game night, or prepping meals for the week, the balance of textures and flavors will keep everyone coming back for more. Remember, the secret lies in the quality of each ingredient and the attention to heat—once you master those, the results are consistently spectacular.
I can’t wait to see your variations, photos, and personal twists on this classic. Share your creations in the comments, ask any lingering questions, and don’t forget to rate the recipe. Your feedback fuels the community and helps us all become better cooks.
Have you tried this recipe?
Leave a comment and rating below! Share your photos on Instagram with #QuesadillaFiesta to be featured.
Chicken Quesadillas with Black Beans and Corn
Crispy, cheesy tortillas packed with smoky chicken, sweet corn, and hearty black beans.
📝 Ingredients
Filling
Assembly
Sauce (optional)
👨🍳 Instructions
- 1 Shred cooked chicken and combine with beans, corn, bell pepper, cilantro, cumin, salt, and pepper.
- 2 Heat a skillet with 1 tbsp olive oil over medium‑high heat.
- 3 Place a tortilla in the skillet, sprinkle half the Monterey Jack, half the cheddar, add filling, then fold.
- 4 Cook each side 2‑3 minutes until golden and cheese melts; repeat for remaining tortillas.
- 5 Slice quesadillas into wedges, arrange on a platter.
- 6 Whisk sour cream, salsa verde, and lime juice for sauce; serve on the side.
- 7 Garnish with extra cilantro and lime wedges.
- 8 Enjoy immediately or store for later.
- 9 For leftovers, reheat in oven at 190°C for 10‑12 minutes.
- 10 Share your creation on social media with #QuesadillaFiesta!
🥗 Nutrition (per serving)
*Nutrition values are estimates based on standard ingredient measurements.
📚 You Might Also Like
Spicy Shrimp Tacos
Cheesy Enchilada Bake
Chicken Fajita Bowl


💬 Comments & Reviews
Leave a Comment
No comments yet. Be the first to share your thoughts!