It started with a kitchen catastrophe that I swear still echoes in my mind. I was attempting to salvage a half‑baked pie after a rogue oven had turned the crust into a charcoal slab. The sweet scent of pineapple had been lost in the smoke, and I was left with a bitter disappointment. That night, I made a promise to myself: I would create a pineapple pie that would outshine any burnt attempt, and I would do it with a sour cream twist that would make the whole house swoon.
Picture this: the oven door swings open, releasing a warm, tropical breeze that smells like sunshine and canned fruit. The crust, golden and crisp, glistens under the kitchen light, while a glossy layer of crushed pineapple glimmers like a tropical lagoon. As the pie cools, a subtle tang from the sour cream wafts through the air, turning the room into a miniature island resort. The first bite feels like a sweet, citrusy wave lapping against a creamy shore—both indulgent and refreshing.
What makes this version stand out is that it marries the classic sweetness of pineapple with a bold, tangy sour cream base that cuts through the sugar. It’s a harmony of textures: the buttery, flaky crust gives way to a silky filling that melts in your mouth. The use of instant vanilla pudding mix not only thickens the mixture but also adds a subtle vanilla undertone that elevates the tropical flavor. I dare you to taste this and not go back for seconds—once you try it, you’ll never settle for the ordinary.
I’ll be honest—my first batch was a triumph, and I ate half the pie before my guests even had a chance to sample it. That’s the proof that this recipe works. It’s hands down the best version you'll ever make at home, and it’s so simple that even a novice can master it. The secret lies in the balance of ingredients and the precise timing of each step.
Most recipes get this completely wrong by overcooking the pineapple or under‑seasoning the sour cream. Here’s what actually works: keep the pineapple moist, let the pudding set just enough to hold its shape, and finish with a dollop of chilled sour cream that adds a velvety finish. If you’ve ever struggled with a pineapple dessert that feels too sweet or too dry, you're not alone—and I've got the fix.
Picture yourself pulling this out of the oven, the whole kitchen smelling incredible, and the first slice sliding off the crust like a wave. The edges will be crisp, the filling will be set yet creamy, and the aroma will transport you to a beachside getaway. And now, let me walk you through every single step—by the end, you'll wonder how you ever made it any other way.
What Makes This Version Stand Out
- Flavor: The combination of sweet pineapple and tangy sour cream creates a complex flavor profile that dances on the palate, unlike any standard pineapple dessert.
- Texture: A flaky crust paired with a silky filling delivers a satisfying contrast that keeps every bite interesting.
- Ease: The recipe uses pantry staples—instant pudding, canned pineapple, and sour cream—making it a quick go-to for any occasion.
- Visual Appeal: The golden crust and glossy pineapple topping look as good as they taste, making this pie Instagram‑ready.
- Make‑ahead: The filling sets in the fridge, so you can prepare the pie in advance and serve it fresh.
- Versatility: It can be served as a dessert, a brunch dish, or a party crowd‑pleaser with minimal adjustments.
Alright, let's break down exactly what goes into this masterpiece...
Inside the Ingredient List
The Flavor Base
The crushed pineapple with juice is the star of the show. It provides natural sweetness, a burst of acidity, and a juicy texture that keeps the filling moist. If you skip it, the pie loses its tropical punch and feels flat. For a fresher taste, you can replace canned pineapple with fresh pineapple chunks, but be sure to squeeze out excess moisture.
The Texture Crew
Instant vanilla pudding mix thickens the filling without the need for a stovetop. It also adds a subtle vanilla undertone that balances the pineapple’s sharpness. If you’re vegan, look for a dairy‑free pudding mix or replace it with a homemade cornstarch slurry. The pudding’s instant setting time means you can assemble the pie in minutes.
The Unexpected Star
Sour cream is the unexpected hero that introduces a creamy, tangy counterpoint to the sweet pineapple. It also helps stabilize the filling, preventing it from becoming runny. A dollop of sour cream on top before serving adds a luxurious finish. If you can’t find sour cream, Greek yogurt works as a great substitute, offering a similar tang and thickness.
The Final Flourish
White sugar, while simple, sweetens the filling to the perfect level. The two tablespoons are enough to lift the sweetness without overpowering the pineapple’s natural flavor. If you prefer a darker, caramelized sweetness, use brown sugar or a drizzle of honey. Keep in mind that too much sugar can make the pie overly sweet and mask the sour cream’s tang.
Everything's prepped? Good. Let's get into the real action...
The Method — Step by Step
- Preheat your oven to 375°F (190°C). Line a 9‑inch pie dish with the 9‑inch crust, pressing it into the corners and trimming any excess. This step ensures a uniform base and prevents the filling from spreading too wide. The crust should feel firm but not cracked.
- In a medium bowl, whisk together the instant vanilla pudding mix, the crushed pineapple (with its juice), and the two tablespoons of white sugar. Stir until the mixture is smooth and the pineapple is evenly distributed. The consistency should be thick but pourable.
- Fold in one cup of sour cream until fully incorporated. The sour cream should be at room temperature to avoid curdling. This step adds richness and a subtle tang that balances the pineapple’s sweetness.
- Pour the filling into the prepared crust, smoothing the top with a spatula. The filling should be level with the crust edges to prevent leakage during baking. A gentle tap on the counter helps eliminate air bubbles.
- Bake for 25 minutes, or until the edges are golden and the filling has set. The center should still have a slight wobble; it will firm up as it cools. Watch the edges—they should pull away slightly from the crust, a sign of proper baking.
- Remove the pie from the oven and let it cool on a wire rack for 30 minutes. This cooling period allows the filling to set completely and the flavors to meld. The pie will appear slightly runny when hot but will firm up as it cools.
- Refrigerate the pie for at least 2 hours, or overnight for best results. The chill intensifies the sour cream’s tang and allows the pineapple juices to thicken. The pie should feel firm to the touch when fully chilled.
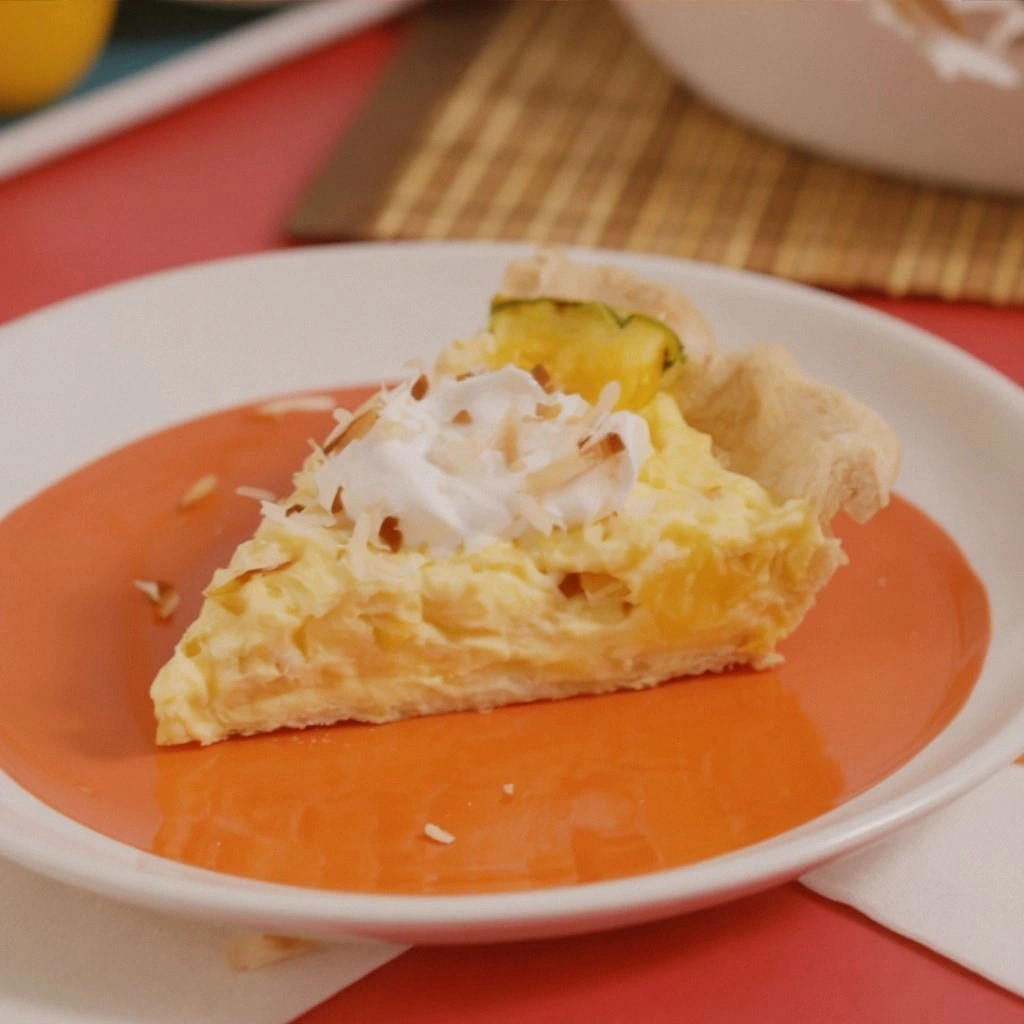
- Just before serving, add a light drizzle of honey or a sprinkle of toasted coconut for an extra layer of flavor. A small dollop of whipped cream can also elevate the presentation. The final touch should make the pie look as good as it tastes.
That's it — you did it. But hold on, I've got a few more tricks that'll take this to another level...
Insider Tricks for Flawless Results
The Temperature Rule Nobody Follows
Baking at 375°F is the sweet spot for this pie; too high and you’ll scorch the crust, too low and the filling won’t set properly. I once baked at 400°F and the filling was watery, ruining the texture. Keep the oven calibrated and use a reliable thermometer for best results.
Why Your Nose Knows Best
Smell the filling as it bakes. A faint citrus aroma indicates that the pineapple is releasing its juices without burning. If you notice a sharp, burnt scent, pull the pie out immediately to prevent a ruined batch.
The 5-Minute Rest That Changes Everything
After removing the pie from the oven, let it rest for exactly five minutes before placing it on the wire rack. This short pause allows the filling to set slightly, reducing the risk of cracks. I learned this trick after a pie collapsed during the first bake.
Add a Dash of Vanilla Extract
A teaspoon of pure vanilla extract can elevate the overall flavor profile, adding depth without overpowering the pineapple. Mix it in with the pudding mix for an even distribution. It’s a simple tweak that makes a noticeable difference.
Use a Pie Crust That’s Already Pre‑Baked
If you’re short on time, opt for a pre‑baked crust. This eliminates the need to blind bake and speeds up the process. Just ensure the crust is slightly cooled before adding the filling to avoid melting.
Creative Twists and Variations
This recipe is a playground. Here are some of my favorite ways to switch things up:
Tropical Coconut Crunch
Swap the sour cream for coconut cream and sprinkle toasted coconut flakes on top. The coconut adds a nutty sweetness that pairs perfectly with pineapple. Your guests will think they’re on a beach vacation.
Berry‑Pineapple Fusion
Add a cup of mixed berries (strawberries, blueberries, raspberries) to the pineapple filling. The berries bring a tart contrast that brightens the pie. It’s a perfect summer dessert that’s also visually stunning.
Spiced Pineapple Delight
Introduce a pinch of ground ginger or cinnamon to the filling. The warm spices add depth and complexity, turning the pie into a cozy autumn treat. This version is great for holiday gatherings.
Cheesecake Twist
Replace the sour cream with a blend of cream cheese and Greek yogurt. This gives the pie a richer, tangier flavor reminiscent of a cheesecake. It’s a decadent variation that’s sure to impress.
Chocolate‑Infused Surprise
Fold in a handful of dark chocolate chips into the filling before baking. The chocolate melts into pockets of gooey delight, creating a luscious contrast to the pineapple. This variation is ideal for chocolate lovers.
Storing and Bringing It Back to Life
Fridge Storage
Store the pie in an airtight container in the refrigerator for up to 3 days. Keep the crust in a separate container to maintain its crispness. When you’re ready to serve, let it sit at room temperature for 15 minutes to soften slightly.
Freezer Friendly
Wrap the pie tightly in plastic wrap and place it in a freezer bag. It will stay fresh for up to 2 weeks. Thaw overnight in the refrigerator before reheating or serving cold.
Best Reheating Method
Reheat the pie in a 350°F oven for 10 minutes, or until warmed through. For a crisp crust, finish with a quick 2‑minute blast on the broiler. Add a splash of water before reheating to keep the filling moist and silky.