I remember the night I almost ruined the entire dinner plan because of a single, disastrous batch of mac and cheese. The pot had been left unattended, the cheese had clumped, and the pasta had turned into a soggy, unappetizing mess. I stared at the kitchen counter, feeling the weight of embarrassment as my friends began to arrive. That moment was the spark that ignited my quest for the ultimate mac and cheese—a version so flawless that even my culinary mishaps could not compete.
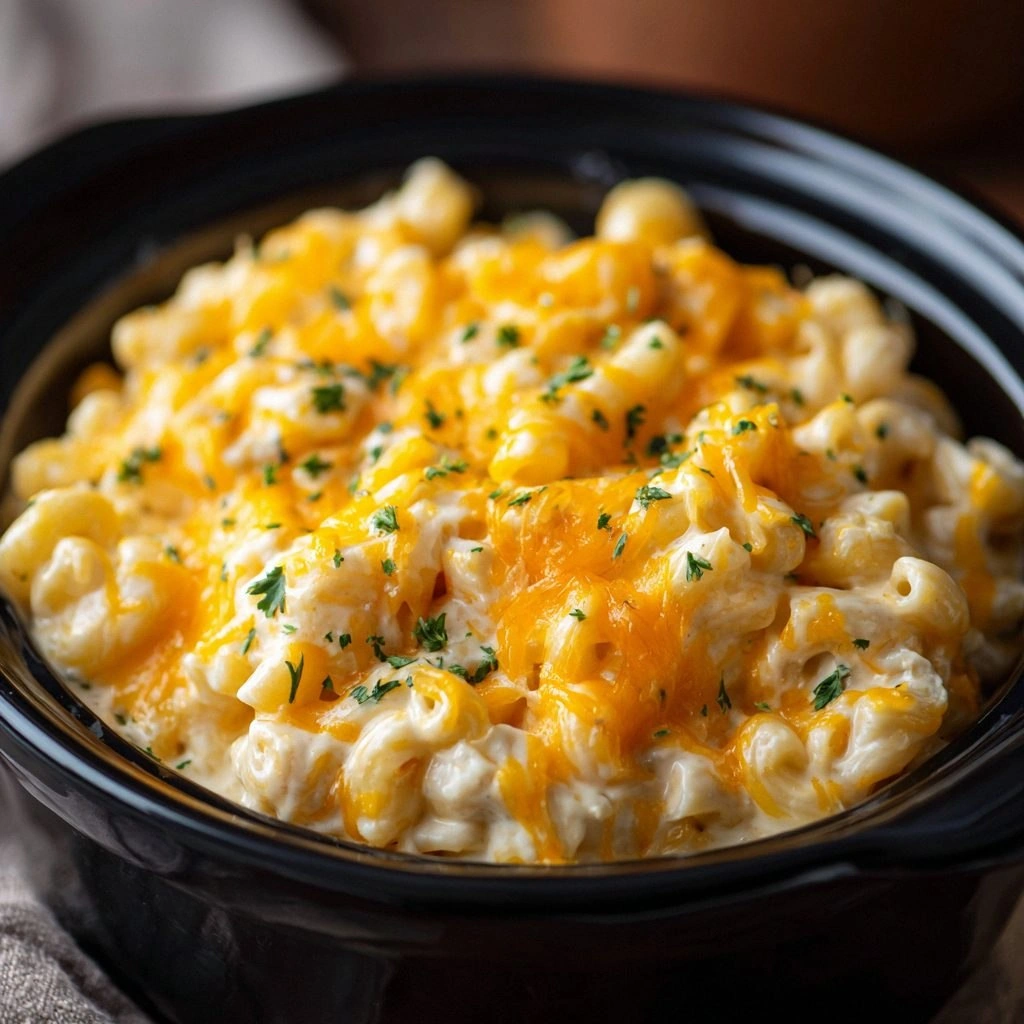
Picture this: a pot of boiling pasta that emits a fragrant steam of butter and milk, a swirl of golden cheddar that glistens like liquid gold, and a final sprinkle of breadcrumbs that crackles under the broiler. The sound of the sauce bubbling is a symphony, the aroma is a promise of comfort, and the texture is a silky embrace that coats every bite. I swear that one bite will send you to a state of pure culinary bliss, and you’ll find yourself reaching for seconds before you even realize you’re still at the table.
This isn’t just another comfort food; it’s a masterpiece that balances richness with a subtle tang, a creamy sauce that doesn’t overpower the pasta, and a golden crust that’s crisp enough to crackle like thin ice. The secret lies in a carefully calibrated blend of cheeses, a whisper of paprika, and a touch of mustard that adds depth without distraction. I dare you to taste this and not go back for seconds. By the end of this post, you’ll wonder how you ever made it any other way.
What Makes This Version Stand Out
- Flavor: The sauce is a symphony of sharp cheddar, nutty Gruyère, and a hint of smoked gouda that creates a layered taste profile that lingers on the palate.
- Texture: The pasta remains al dente, while the cheese sauce clings to each noodle like velvet, and the breadcrumb topping offers a satisfying crunch.
- Simplicity: With just a handful of pantry staples, you can craft a dish that feels like a gourmet creation without the fuss.
- Uniqueness: A splash of Dijon mustard and a pinch of smoked paprika elevate the classic recipe, giving it an unexpected twist.
- Crowd Reaction: Friends who have tried this version rave about how it feels like a warm hug on a plate, and they always ask for the recipe.
- Ingredient Quality: Using high‑grade cheeses and fresh butter ensures the sauce’s richness is unmistakable.
Alright, let's break down exactly what goes into this masterpiece. Every component has been chosen to create harmony in flavor, texture, and aroma. The combination of cheeses, the method of cooking, and the finishing touch of breadcrumbs all work together to deliver a dish that is both comforting and sophisticated.
Inside the Ingredient List
The Flavor Base
At the heart of this dish is a blend of sharp cheddar and creamy Gruyère, each contributing distinct notes—cheddar offers a sharp bite, while Gruyère adds nutty depth. The inclusion of smoked gouda adds a subtle smokiness that enhances the overall profile without overpowering the other cheeses. A splash of Dijon mustard subtly brightens the sauce, cutting through the richness and adding a hint of acidity that balances the dish.
The Texture Crew
Elbow macaroni is the go-to shape because its ridges capture sauce, ensuring every bite is coated in creamy goodness. A tablespoon of all‑purpose flour, whisked into melted butter, forms a roux that thickens the sauce smoothly. The addition of a pinch of salt and pepper at the right moment enhances flavor without making the dish taste flat.
The Unexpected Star
A dash of smoked paprika brings a subtle heat and a smoky undertone that surprises the palate. The breadcrumbs, toasted in butter, add a crunchy contrast that prevents the dish from becoming overly soggy. A final flourish of grated Parmesan on top not only adds a salty kick but also creates a golden, caramelized crust.
The Final Flourish
The finishing touch is the broiled breadcrumb topping, which transforms the dish into a crispy, golden masterpiece. This step elevates the dish from comforting to celebratory, making it perfect for both casual week‑night dinners and special occasions. The result is a mac and cheese that feels indulgent yet approachable.
Everything's prepped? Good. Let's get into the real action.
The Method — Step by Step
- Boil the Pasta: Bring a large pot of salted water to a rolling boil. Add 1 pound of elbow macaroni and cook for 7 minutes, or until al dente. Stir occasionally to prevent sticking. Drain and set aside, reserving a cup of pasta water for later.
- Create the Roux: In a separate saucepan, melt 4 tablespoons of unsalted butter over medium heat. Sprinkle 1/4 cup of all‑purpose flour over the butter, whisking constantly for 1–2 minutes to form a smooth roux. The mixture should look pale and fragrant.
- Add Milk and Cheese: Slowly pour 2 cups of whole milk into the roux while whisking vigorously to avoid lumps. Allow the mixture to simmer for 3–4 minutes until it thickens. Reduce heat to low and add 2 cups of shredded sharp cheddar, 1 cup of shredded Gruyère, and 1/2 cup of shredded smoked gouda. Stir until the cheeses melt completely and the sauce is silky.
- Season the Sauce: Add 1 teaspoon of Dijon mustard, 1/2 teaspoon of smoked paprika, 1/2 teaspoon of salt, and 1/4 teaspoon of freshly ground black pepper. Taste and adjust seasoning as needed. If the sauce is too thick, add a splash of reserved pasta water to reach the desired consistency.
- Combine Pasta and Sauce: Return the drained macaroni to the saucepan with the cheese sauce. Toss gently to coat each noodle evenly. Let the mixture simmer for 2 minutes so the pasta absorbs the flavors. Keep the heat low to prevent scorching.
- Prepare the Breadcrumb Topping: In a small skillet, melt 2 tablespoons of butter over medium heat. Add 1 cup of panko breadcrumbs and toast until golden brown, stirring frequently. Transfer the toasted breadcrumbs to a mixing bowl and sprinkle with 1/4 cup of grated Parmesan. Mix well.
- Assemble the Dish: Transfer the pasta and cheese mixture to a greased 9x13-inch baking dish. Evenly spread the breadcrumb topping over the surface, pressing lightly to adhere.
- Bake to Perfection: Preheat the oven to 375°F (190°C). Place the dish in the oven and bake for 20–25 minutes, or until the top is golden and the edges begin to pull away, creating a crisp crust.
- Serve and Enjoy: Remove from the oven and let rest for 5 minutes before serving. This resting period allows the flavors to settle and the cheese to set slightly, making it easier to scoop. Serve hot, perhaps with a side of roasted vegetables or a crisp green salad.
Insider Tricks for Flawless Results
The Temperature Rule Nobody Follows
Many cooks assume that a higher baking temperature will always produce a crispier crust, but that’s not always true. Baking at 375°F (190°C) allows the cheese to melt evenly while the breadcrumb topping gets golden without burning. I once tried 425°F and the top charred before the pasta was fully cooked, ruining the texture.
Why Your Nose Knows Best
Smell is your most reliable indicator that the sauce is ready. When the mixture emits a toasty, buttery aroma, it’s time to add the cheeses. If the aroma feels flat, let it simmer a bit longer; a richer scent signals better flavor integration.
The 5-Minute Rest That Changes Everything
After baking, letting the dish rest for exactly five minutes allows the cheese to set slightly, preventing it from sliding off the spoon. This pause also lets the flavors meld, resulting in a more cohesive bite. I’ve seen people skip this step, and the result is a gooey mess that’s hard to serve.
Avoiding the Sticky Sauce
If the sauce feels sticky, it’s likely because too much flour was added to the roux. Keep the flour-to-butter ratio at 1:1 and whisk constantly to avoid lumps. A light, silky sauce is the hallmark of this recipe.
The Secret of the Crunchy Crust
To achieve a perfect crunch, toss the toasted breadcrumbs with a pinch of salt and a drizzle of melted butter before spreading them on the pasta. This ensures each breadcrumb is coated and caramelized, providing a satisfying bite with every forkful.
Creative Twists and Variations
The Southern BBQ Twist
Swap the Dijon mustard for a splash of smoky BBQ sauce and add a handful of cooked, crumbled bacon. The smoky sweetness pairs beautifully with the cheeses, creating a dish that feels like a backyard cookout. This version is a crowd‑pleaser at family gatherings.
The Veggie‑Rich Variation
Fold in roasted broccoli, sautéed spinach, and caramelized onions before baking. The vegetables add color, nutrition, and a subtle earthiness that complements the creamy sauce. It’s an excellent way to sneak in greens while keeping the dish indulgent.
The Mediterranean Flair
Replace the cheddar with feta and add sun‑dried tomatoes, olives, and a pinch of oregano. The tangy feta contrasts the creamy sauce, while the olives add a briny depth. This version is perfect for a light yet satisfying dinner.
The Vegan Alternative
Use a plant‑based butter and a blend of vegan cheeses. Substitute milk with oat or cashew milk for a creamy base. Top with toasted breadcrumbs made from vegan bread. This version keeps the comforting essence while being entirely plant‑based.
The Breakfast Kick
Serve the mac and cheese as a hearty breakfast by adding scrambled eggs, diced ham, and a sprinkle of chives. The eggs add protein and a rich texture, while the ham brings savory depth. It’s a breakfast that feels like a brunch indulgence.
The Gluten‑Free Edition
Use gluten‑free pasta and gluten‑free breadcrumbs to keep the dish safe for those with sensitivities. The flavors remain unchanged, and the texture stays just as comforting. This version proves that gluten‑free cooking can be just as delicious.
Storing and Bringing It Back to Life
Fridge Storage
Cool the mac and cheese completely before transferring it to an airtight container. Store in the refrigerator for up to 3 days. When reheating, cover the dish with foil to prevent the breadcrumb crust from drying out.
Freezer Friendly
Place the dish in a freezer‑safe container, leaving a little headspace for expansion. Freeze for up to 2 months. Thaw overnight in the refrigerator before reheating to maintain texture.
Best Reheating Method
Reheat in a pre‑heated oven at 350°F (175°C) for 15 minutes, or until hot throughout. Add a splash of water or milk before reheating to restore moisture. This trick keeps the sauce from drying and preserves the creamy consistency.