I remember the night I tried to recreate my favorite takeout Mongolian chicken and it turned into a kitchen catastrophe. The sauce had turned to a thick, unappetizing glaze, the chicken was dry, and the whole pot smelled like burnt sugar. I stared at the mess, then laughed, because if I could turn that disaster into a masterpiece, I would share it with anyone who loves a good flavor story. That moment sparked a mission: to craft a high‑protein, low‑calorie version that still delivers the bold, umami punch of the original.
Picture this: a sizzling pan, the aroma of garlic and ginger dancing in the air, the glossy sheen of soy sauce coating tender chicken slices like velvet. You can almost hear the faint hiss of the oil as the pieces hit the heat, and you feel the heat radiating from the skillet, a gentle reminder that the dish is alive. The sound of a spoon scraping the pan, the soft clink of scallions against the metal, all combine to create a symphony that makes your stomach rumble with anticipation. This sensory orchestra is the foundation of why this version feels like a culinary revelation.
What sets this recipe apart isn’t just the reduction of calories—it’s the meticulous balance of flavors and textures that keeps every bite exciting. I’ve trimmed the sugar, swapped regular oil for avocado oil, and added a splash of rice vinegar to cut through the richness. The result? A sauce that is sweet yet tangy, savory yet bright, with a silky finish that clings to the chicken without weighing it down. The chicken stays juicy, the scallions add a fresh crunch, and the sesame seeds bring a nutty finish that rounds everything out.
I dare you to taste this and not go back for seconds. Most recipes get this completely wrong by over‑sugaring or over‑cooking the meat, but here, every element plays a role in the final harmony. I’ll be honest—before I refined the technique, I ate half the batch before anyone else got a chance to try it. The secret was in the timing and the small, almost invisible tweaks that make a huge difference.
If you've ever struggled with takeout imitation dishes, you're not alone—and I've got the fix. Picture yourself pulling this out of the pan, the whole kitchen smelling incredible, the steam rising like a small cloud of savory perfume. The first bite will have you questioning why you ever settled for store‑bought sauces. This is hands down the best version you'll ever make at home, and the best part is you can keep it lean without sacrificing flavor.
Okay, ready for the game‑changer? This next section will break down why this version is a game‑changer, and then we’ll dive into the ingredients that make it happen. By the end, you’ll wonder how you ever cooked Mongolian chicken any other way.
What Makes This Version Stand Out
- Flavor: The sauce balances sweet, salty, and umami with a subtle citrus kick from rice vinegar, creating a complex profile that lingers on the palate.
- Texture: The chicken is sliced thin and seared just enough to develop a caramelized crust while remaining moist inside—no dry, rubbery bites.
- Nutrition: With only 350 calories per serving and 25 grams of protein, this dish satisfies without the guilt.
- Ingredient Quality: Using low‑sodium soy sauce and fresh ginger ensures a clean, vibrant taste that stands out from canned or pre‑made sauces.
- Time Efficiency: Prep takes 15 minutes, cooking 30, so you’re ready for dinner in under an hour.
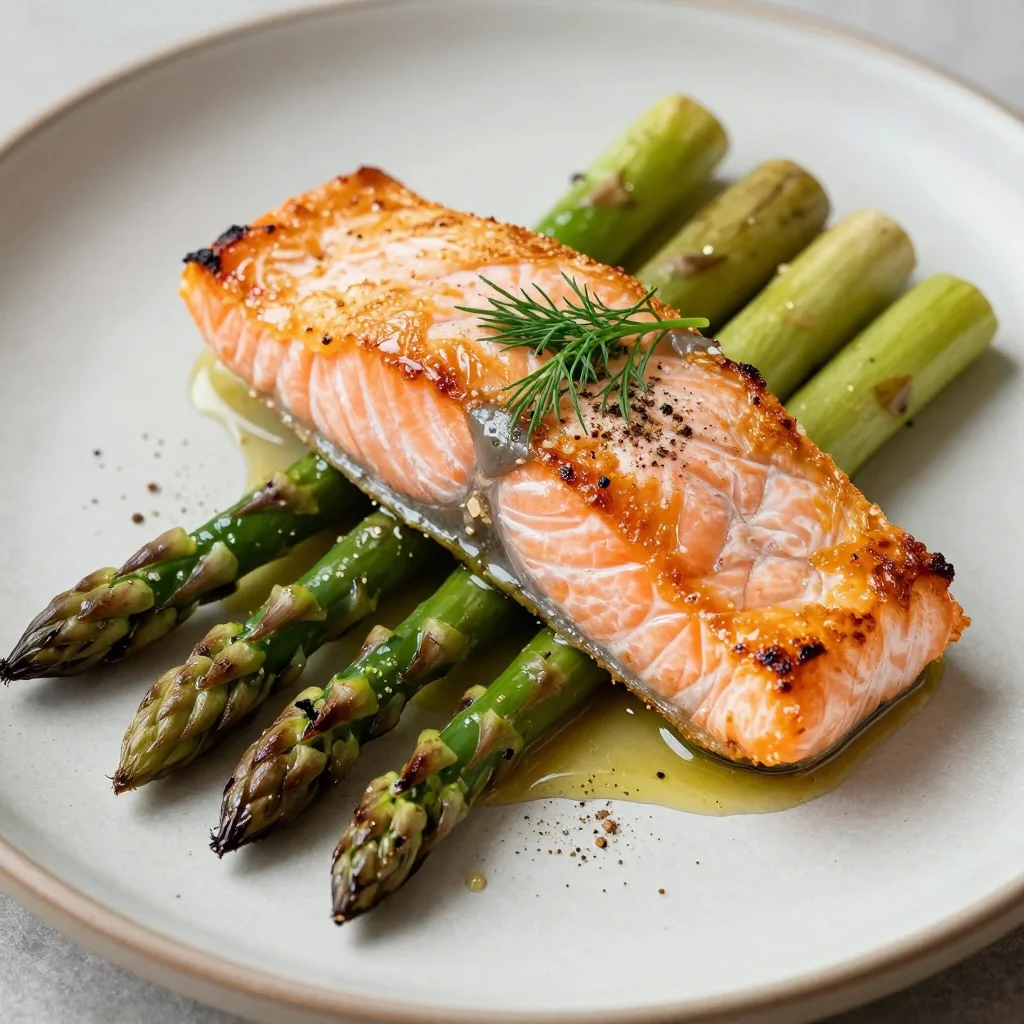
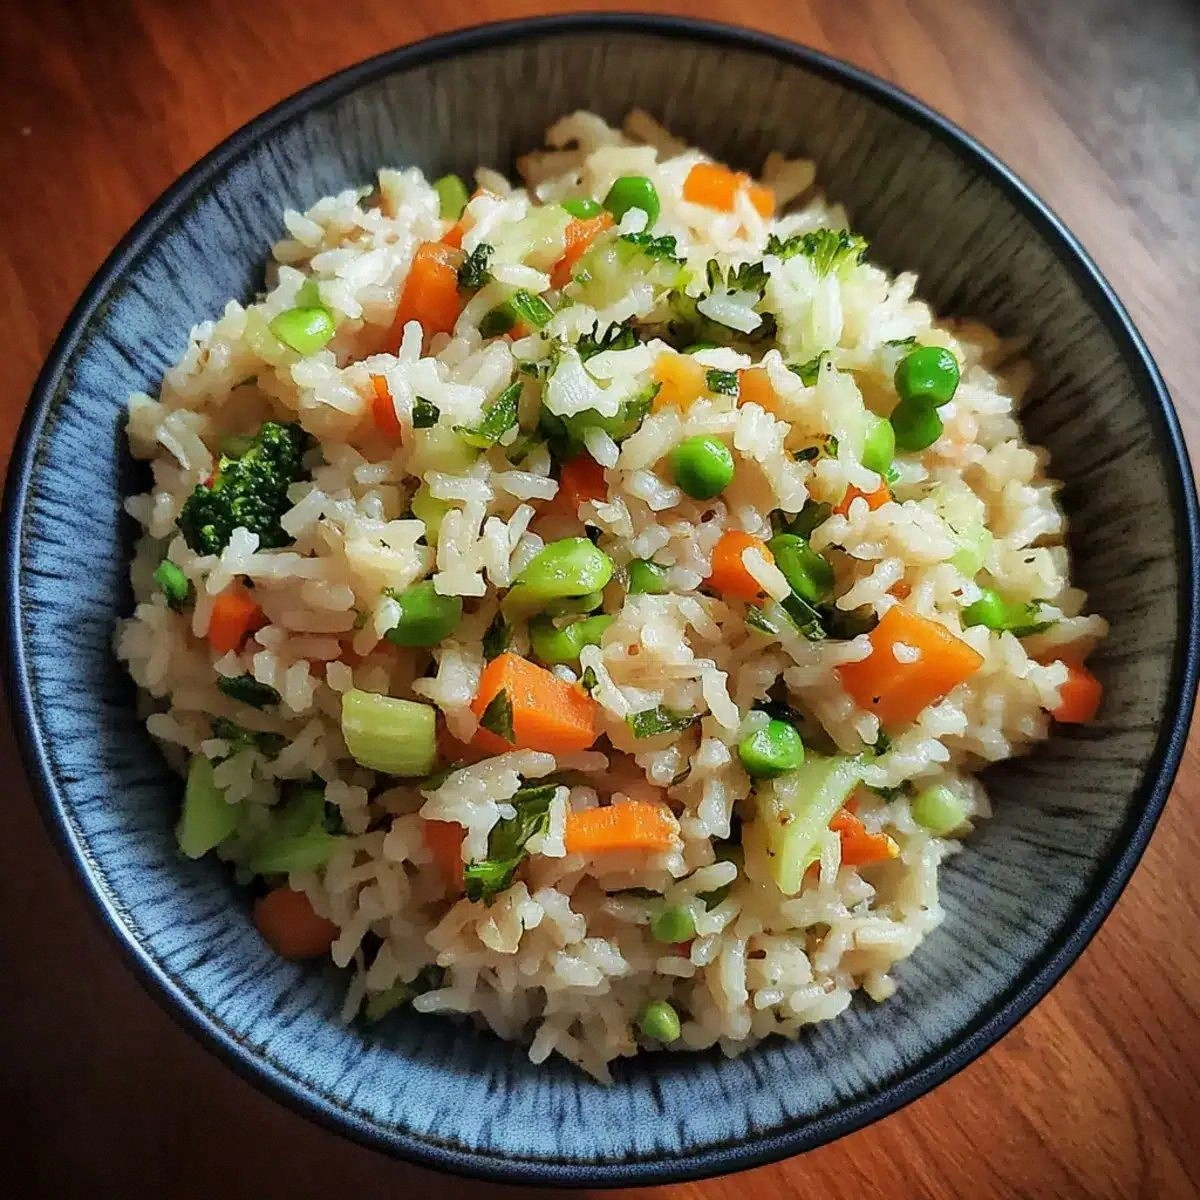
- Versatility: Pair it with cauliflower rice, quinoa, or a crisp green salad—each option keeps the dish fresh and interesting.
- Make‑Ahead Friendly: The sauce can be made ahead and reheated; the chicken can be pre‑marinated and cooked in bulk for meal prep.
Alright, let's break down exactly what goes into this masterpiece…
Inside the Ingredient List
The Flavor Base
Low‑sodium soy sauce is the cornerstone of the sauce. It provides depth and a salty backbone without the sodium overload. If you’re watching sodium, you can replace it with a sodium‑free soy sauce or tamari. Keep the ratio consistent; too much soy sauce will drown the other flavors.
Rice vinegar adds a bright acidity that cuts through the sweetness and balances the overall profile. Think of it as the dish’s secret “kiss of freshness.” If you’re missing rice vinegar, a splash of apple cider vinegar works, but it will slightly alter the aroma.
Water or low‑sodium chicken broth is the liquid that brings everything together. It’s a neutral base that allows the soy sauce to shine without adding extra sodium. For a richer taste, use low‑sodium broth; for a lighter version, water is fine.
The Texture Crew
Cornstarch is the magic binder that thickens the sauce to a glossy glaze. It’s also what gives the sauce that silky texture that clings to the chicken. If you’re avoiding cornstarch, arrowroot powder or potato starch can be a suitable alternative.
Avocado oil or light olive oil provides a high‑heat, neutral‑flavor base for searing the chicken. Avocado oil is especially great because it has a high smoke point and a buttery undertone that enhances the dish. If you’re on a budget, a neutral vegetable oil will do, but avoid oils with strong flavors like sesame or peanut.
The Unexpected Star
Red pepper flakes add a subtle heat that awakens the palate. The amount can be adjusted to taste—if you prefer a milder version, halve the flakes. The heat also helps balance the sweetness of the sauce. A pinch of salt is the final seasoning tweak; it’s the last touch that brings all the flavors together.
The Final Flourish
Scallions add a fresh, bright crunch that contrasts the tender chicken. They also contribute a mild onion flavor that lifts the dish. If you’re not a fan of green onions, you can substitute with chives or a handful of sliced bell pepper for a different color and flavor.
Sesame seeds are the finishing touch—nutty, slightly toasty, and they add a subtle crunch that makes each bite interesting. Toast them lightly in a dry pan to bring out their aroma before sprinkling them over the finished dish.
Everything’s prepped? Good. Let’s get into the real action…
The Method — Step by Step
- Prep the chicken. Slice the 1.5‑lb boneless, skinless chicken breasts into thin, bite‑size strips. The thinner the cut, the quicker they’ll cook and the more surface area will caramelize. Pat the slices dry with paper towels; moisture is the enemy of a good sear. This step ensures that the chicken will develop a golden crust that locks in juices.
- Make the sauce. In a small bowl, whisk together 1/3 cup low‑sodium soy sauce, 1/3 cup water (or broth), 1.5 tbsp brown sugar, 1 tbsp rice vinegar, 1/2 tsp red pepper flakes, and 1 tbsp cornstarch. Stir until the cornstarch dissolves completely—no lumps. This mixture will be the foundation of the glaze; the cornstarch is what will give it that silky sheen.
- Marinate the chicken. Toss the sliced chicken in a separate bowl with 1 tbsp minced fresh ginger, 4 cloves minced garlic, and a pinch of salt. Let it sit for 10 minutes; this allows the aromatics to infuse the meat. The ginger and garlic give the dish its signature depth, while the salt awakens the flavors.
- Heat the pan. Place a large skillet over medium‑high heat and add 1 tbsp avocado oil. Once the oil shimmers, it’s ready. The oil’s high smoke point prevents burning and ensures a crisp sear. This step is crucial for the caramelized crust that makes the dish so delicious.
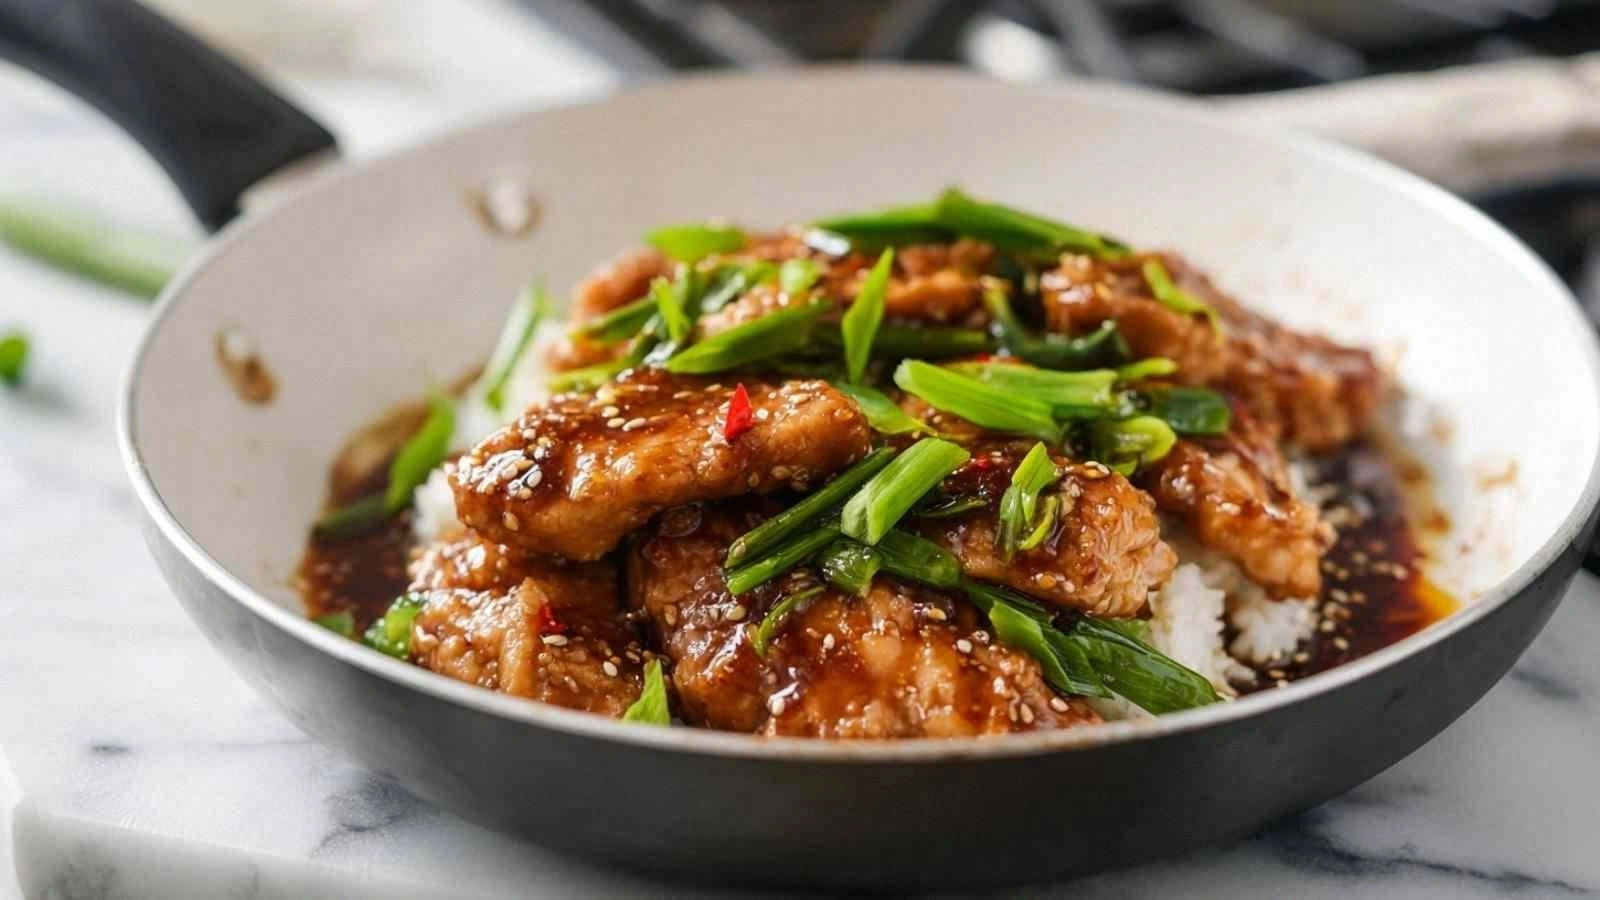
- Sear the chicken. Add the marinated chicken to the hot pan in a single layer. Do not crowd the pan; if necessary, cook in batches. Let the chicken sear for 2–3 minutes on each side until a golden crust forms. The surface should crackle slightly, indicating the Maillard reaction is at work. This is the moment of truth—watch the color change and listen to the sizzle.
- Deglaze and simmer. Once the chicken is browned, pour in the prepared sauce. Use a wooden spoon to scrape up any browned bits from the pan—those are flavor gold. Reduce the heat to medium and let the sauce simmer for 4–5 minutes. The sauce will thicken, coat the chicken, and develop a glossy sheen. The aroma will shift from raw to caramelized, signaling readiness.
- Add the final touches. Stir in 5 scallions, sliced into 1‑inch pieces, and 1 tsp sesame seeds. Cook for an additional 30 seconds to toast the sesame seeds slightly. This final step adds freshness and a nutty crunch that balances the sweetness.
- Serve. Plate the chicken over a bed of steamed cauliflower rice or a crisp green salad. Drizzle any remaining sauce over the top. Garnish with extra scallion slices for color. The dish should look glossy, the chicken juicy, and the aroma irresistible.
That’s it—you did it. But hold on, I've got a few more tricks that'll take this to another level.
Insider Tricks for Flawless Results
The Temperature Rule Nobody Follows
Many cooks think a high heat is the key to a good sear, but the trick is to start at medium‑high, then lower to medium once the chicken is in the pan. This prevents the outside from burning while the inside stays raw. I once burned the chicken by leaving it on high for too long—don’t make that mistake.
Why Your Nose Knows Best
Before you add the sauce, sniff the pan. The aroma should be a sweet, caramelized scent. If it still smells raw, give the chicken a few more minutes to sear. Your nose is a reliable indicator of doneness and flavor development.
The 5‑Minute Rest That Changes Everything
After you finish cooking, let the chicken rest for 5 minutes before serving. This allows the juices to redistribute, ensuring each bite stays moist. I’ve seen people skip this step and end up with dry, uneven meat.
Keep the Pan Clean
If you notice bits sticking to the pan, wipe them away with a paper towel before adding the sauce. These bits are packed with flavor, but if they burn, they’ll impart a bitter taste. A quick clean keeps the sauce bright.
Use Fresh Ginger
Fresh ginger adds a bright, peppery note that dried ginger can’t match. If you’re out of fresh ginger, a tablespoon of ground ginger will work, but the aroma will be less vibrant. Fresh is the way to go.
Creative Twists and Variations
This recipe is a playground. Here are some of my favorite ways to switch things up:
Spicy Sichuan Twist
Add a tablespoon of Sichuan peppercorns and double the red pepper flakes. The peppercorns give a numbing heat that pairs beautifully with the sweet sauce. Serve over jasmine rice for a fragrant finish.
Thai Coconut Kick
Replace half the water with coconut milk for a creamy, tropical version. Add a splash of lime juice and chopped cilantro for a bright finish. The coconut milk also thickens the sauce slightly, giving it a luscious mouthfeel.
Low‑Carb Paleo Option
Swap the brown sugar for a sugar substitute like monk fruit or stevia, and use a low‑carb sweetener. Keep the rest of the ingredients the same. This version is perfect for paleo or keto dieters.
Vegetarian Version
Replace the chicken with sliced seitan or tofu, marinated in the same aromatics. The texture will be slightly different, but the sauce will still coat everything beautifully. This is a great plant‑based take on a classic dish.
Quick Stir‑Fry Upgrade
Add sliced bell peppers, snap peas, or broccoli halfway through cooking. The vegetables add crunch and color, and they absorb the sauce for a balanced bite. This version is ideal for a quick weeknight meal.
Asian Noodle Bowl
Serve the chicken over zucchini noodles or rice noodles. Drizzle with the sauce and top with a sprinkle of toasted sesame seeds. This variation turns the dish into a satisfying noodle bowl.
Storing and Bringing It Back to Life
Fridge Storage
Store leftovers in an airtight container in the refrigerator for up to 3 days. The sauce will thicken slightly when chilled, so when reheating, add a splash of water or broth to loosen it back into a glaze.
Freezer Friendly
Freeze the cooked chicken and sauce separately in freezer‑safe containers. The dish will keep for up to 3 months. When ready to eat, thaw overnight in the refrigerator and reheat on the stove with a splash of water.
Best Reheating Method
Reheat on low heat, stirring frequently, until warmed through. Add a tablespoon of water to prevent the sauce from drying out. This method restores the glossy sheen and keeps the chicken moist.