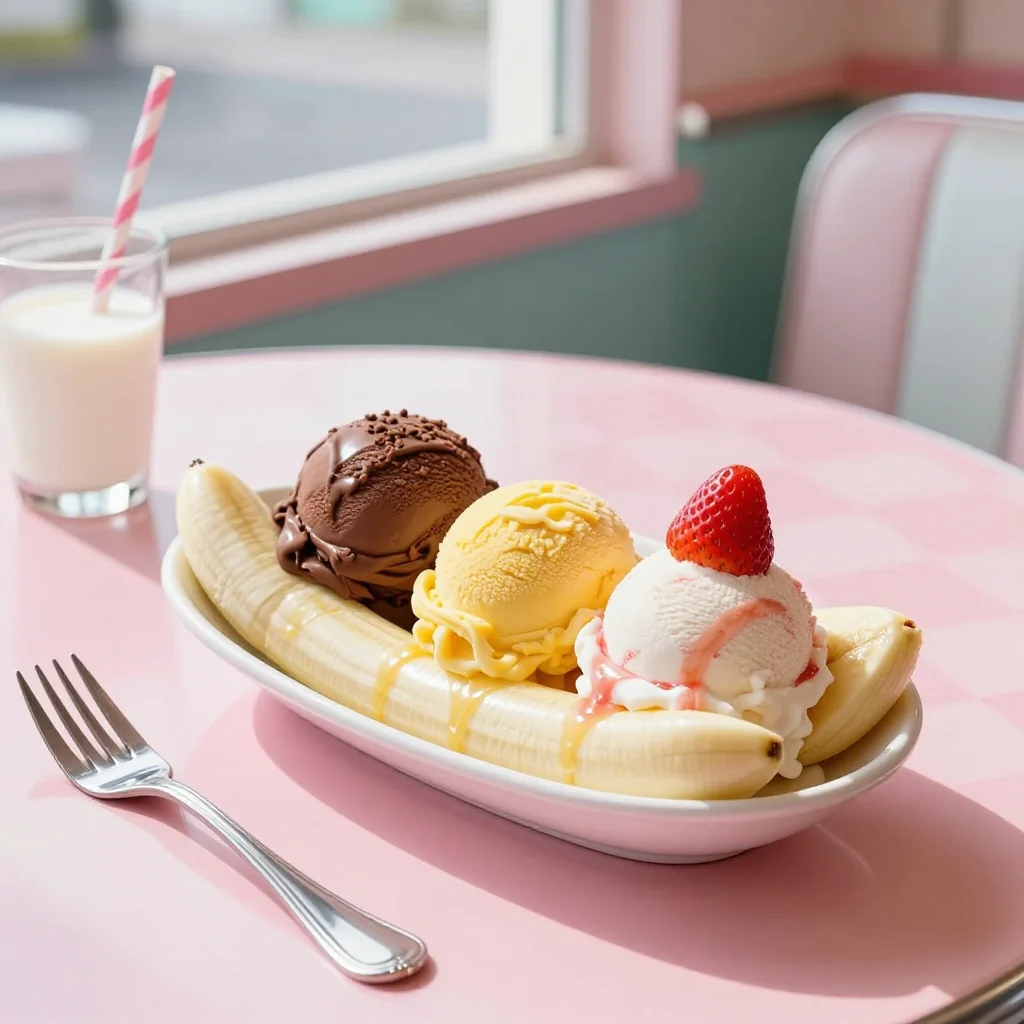
A dazzling, over‑the‑top dessert that turns a classic banana split into a celebration of colors, textures, and flavors.

Every time I walk past an ice‑cream shop as a child, the sight of a banana split beckons me like a neon sign promising pure joy. I still remember the first time my grandmother let me assemble one herself—splitting the banana lengthwise, scooping three vibrant flavors, and drizzling sauces in a chaotic swirl of chocolate, strawberry, and caramel. The sweet scent of fresh fruit mixed with the creamy chill of ice cream still makes my mouth water.
The banana split originated in the early 1900s in Latrobe, Pennsylvania, and quickly became an American staple, symbolizing indulgence and celebration. Over the decades, it evolved from a simple trio of scoops to a canvas for limitless creativity. Today, I’m taking that tradition to the next level by adding an avalanche of toppings that turn the dessert into a party on a plate.
In this article, you’ll learn how to select the perfect bananas, balance flavors across three ice‑cream varieties, and master the art of layering sauces and toppings for visual impact and textural contrast. I’ll also share pro‑level tips that guarantee every bite is as smooth as silk and as crunchy as a fresh nut.
So grab your spoons, roll up your sleeves, and let’s build a banana split that will impress friends, family, and anyone lucky enough to taste it.
🌟 Why This Recipe Will Captivate You
From its nostalgic roots to its modern, over‑the‑top presentation, this banana split is designed to delight every sense.
- ✨ Visual Spectacle: The vivid layers of pink strawberry, creamy vanilla, and deep chocolate ice cream, crowned with rainbow sprinkles, create a picture‑perfect dessert that’s Instagram‑ready.
- ✨ Textural Harmony: Each bite delivers a silky melt, a crunchy nut, a fluffy whipped‑cream cloud, and a juicy burst of cherry—all balanced to keep the palate excited.
- ✨ Flavor Balance: Sweet, tangy, and buttery notes intertwine, while the caramel drizzle adds a buttery depth that prevents the dessert from becoming cloyingly sweet.
- ✨ Customizable Foundations: You can swap ice‑cream flavors, replace sauces, or go vegan with plant‑based alternatives without losing the core experience.
- ✨ Simple Assembly: Despite its elaborate appearance, the recipe requires no cooking—just careful preparation, making it perfect for quick celebrations.
- ✨ Crowd‑Pleaser: Whether you’re serving kids at a birthday party or adults at a summer soirée, the mix of familiar flavors and playful presentation wins every time.
🥗 Ingredients
📝 Complete Ingredient List
For the bananas:
For the ice cream:
For the sauces:
For the toppings:
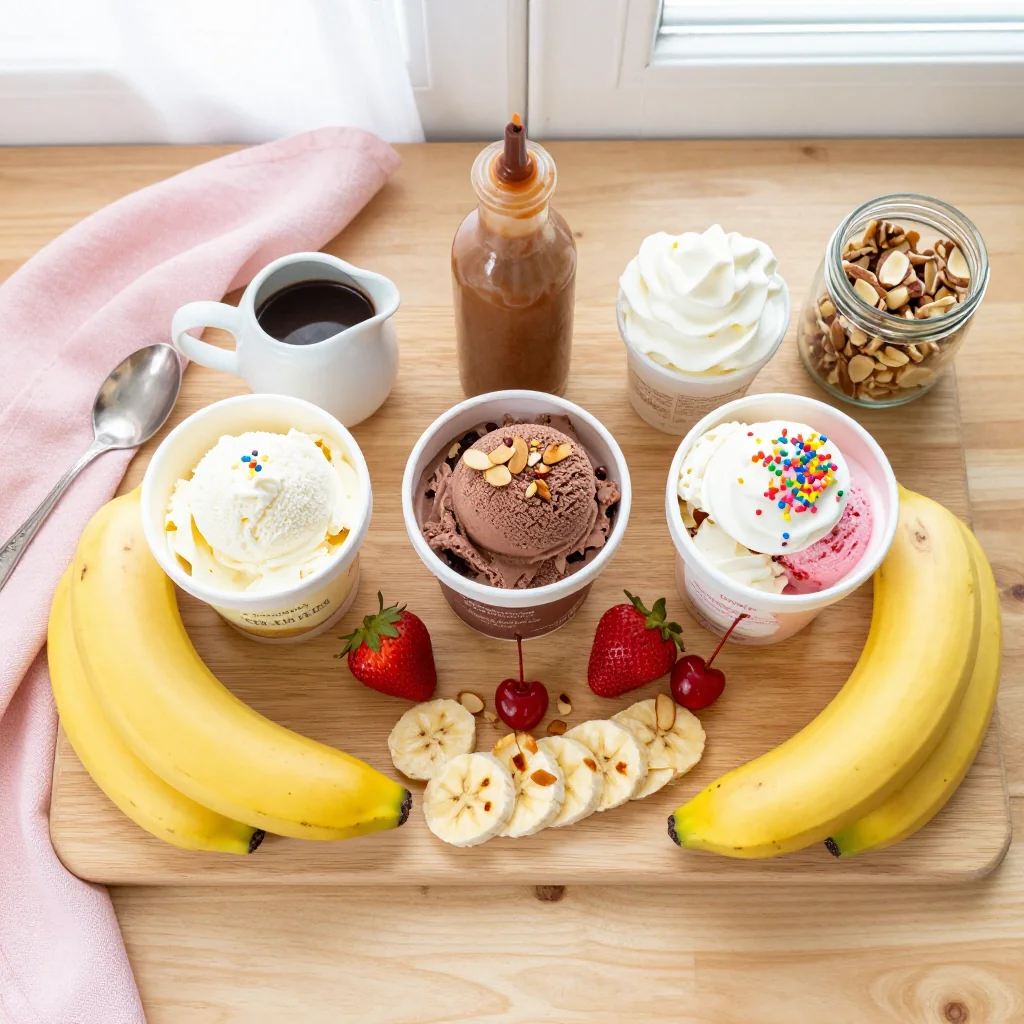
🔍 Focus on Key Ingredients
Ripe Bananas
Bananas provide the sturdy yet sweet foundation for the split. Choose bananas that are yellow with a few brown speckles; they are at peak sweetness and still firm enough to hold the scoops without bending. The natural starch helps balance the richness of the ice cream, while the slight tang adds a fresh contrast.
Premium Ice Cream
Using high‑fat, low‑overrun ice cream ensures a buttery texture that melts slowly, giving you that luxurious mouthfeel. The classic trio—vanilla, chocolate, and strawberry—offers a palette of flavors that complement each other, while the optional mango adds an exotic twist that brightens the overall taste.
Artisan Sauces
Homemade sauces elevate the dessert beyond store‑bought versions. A glossy chocolate sauce made with real cocoa butter adds depth, while a strawberry sauce brightens with fruit acidity. Caramel sauce, reduced to a amber hue, contributes a buttery, nutty finish that ties the sweet components together.
🔄 Quick Substitutions
| If you don’t have... | Use instead... |
|---|---|
| Bananas | Plantain slices (slightly less sweet) |
| Chocolate sauce | Nutella or melted dark chocolate |
| Whipped cream | Vegan coconut whipped cream |
👨🍳 Step‑by‑Step Instructions
Follow these detailed steps to assemble a banana split that looks as spectacular as it tastes.
📋 Phase 1: Preparation & Mise en Place
Gather, measure, and prep every component before you start assembling.
Slice the bananas lengthwise
Place each banana on a cutting board. Using a sharp chef’s knife, slice each banana in half lengthwise, creating three long halves per banana. The cuts should be clean to avoid bruising the fruit. Arrange the halves on a large platter, spacing them evenly to form a “V” shape that will cradle the ice‑cream scoops. The natural curvature of the banana adds a visual arch that enhances the final presentation.
Prepare the sauces
In three small saucepan bowls, gently warm the chocolate, strawberry, and caramel sauces over low heat until they become pourable but not bubbling. Stir each sauce with a silicone spatula to achieve a glossy consistency. Transfer each sauce to a decorative drizzle bottle or a small squeeze bottle for precise application later.
Whip the cream (if not pre‑whipped)
Pour the cold heavy cream into a chilled mixing bowl. Add a pinch of vanilla extract and a teaspoon of powdered sugar. Using an electric whisk, beat on medium‑high speed until soft peaks form—just enough to hold shape but still airy. Over‑whipping can cause the cream to turn buttery, so stop as soon as peaks stand upright.
🔥 Phase 2: Assembly
Layer the ice cream, drizzle sauces, and add toppings with care.
Scoop the ice cream
Starting with the vanilla scoop, place two scoops between each banana half, alternating flavors to create a rainbow effect: vanilla, chocolate, strawberry, then mango for a surprise twist. Use a warm ice‑cream scoop (dip it in hot water for a few seconds) to glide through the ice cream smoothly without cracking.
Drizzle the sauces
Using the squeeze bottles, drizzle chocolate sauce in a zig‑zag over the chocolate scoops, strawberry sauce over the strawberry scoops, and caramel in gentle spirals over the vanilla and mango scoops. The sauces should cascade down the sides of the bananas, creating a glossy sheen that catches the light.
Add whipped cream and toppings
Pipe or spoon generous dollops of whipped cream atop each scoop. Sprinkle chopped nuts, rainbow sprinkles, and crushed pineapple evenly across the surface. Finally, place halved maraschino cherries on the highest points of the whipped cream for a pop of color.
✨ Phase 3: Finishing Touches & Serving
Give the final polish and present the dessert.
Check for balance
Inspect each banana half to ensure the scoops are evenly distributed and the sauces are not pooling excessively. Adjust any uneven drizzles with a small spoon to keep the presentation tidy.
Serve immediately
Present the banana split on a chilled dessert plate or a decorative wooden board. Serve with long spoons or dessert forks so guests can enjoy each component without the ice cream melting too quickly.
💡 Expert Tips & Tricks
🛒 Choosing the Right Ingredients
When selecting bananas, look for ones that are yellow with a few brown spots—this indicates peak ripeness and optimal sweetness. For ice cream, avoid “light” or “low‑fat” varieties; they contain more water, which can cause the scoops to melt faster and become grainy. Premium brands with a butterfat content of at least 10% provide a richer texture. If you prefer a dairy‑free version, coconut‑based ice cream offers a creamy mouthfeel and subtle tropical flavor that pairs beautifully with the fruit.
🔪 Preparation Techniques
Use a hot, wet knife to slice the bananas cleanly; the heat prevents the fruit from bruising. For scooping ice cream, dip the scoop in hot water for 5 seconds and shake off excess water before each scoop. This technique reduces friction, allowing the scoop to glide through the ice cream without breaking the perfect sphere shape.
🌡️ Mastering the Assembly
Work quickly once the ice cream is out of the freezer to avoid melting. Keep the sauces warm but not hot—over‑heated chocolate can become grainy, while warm strawberry sauce retains its bright color. If you notice any sauce thickening, gently re‑warm for a few seconds.
🍽️ Presentation & Service
For a dramatic effect, place the banana split on a chilled marble slab; the cool surface helps keep the ice cream firm longer. Add a final drizzle of edible gold leaf or a dusting of powdered sugar for an extra touch of elegance when serving high‑end guests.
🏆 Pro Tips
The difference between a good banana split and a restaurant‑level masterpiece lies in precision, temperature control, and visual balance.
- 🎯 Temperature Mastery: Keep the bananas in the freezer for 10 minutes before slicing. This slight chill prevents the fruit from becoming mushy when the ice cream melts slightly during assembly, preserving structural integrity.
- 🎯 Sauce Viscosity Control: Add a teaspoon of corn syrup to chocolate sauce to achieve a glossy, pour‑able consistency that clings to the ice cream without running off. The syrup also prevents crystallization, keeping the sauce smooth.
- 🎯 Layering Logic: Place the heaviest sauce (caramel) first, followed by the medium (chocolate) and lightest (strawberry). This order ensures that each sauce stays visible and doesn’t drown the lighter ones.
- 🎯 Whipped Cream Stability: Stabilize whipped cream with a pinch of cream of tartar or a tablespoon of powdered gelatin dissolved in a tiny amount of warm water. This keeps the peaks firm for longer, especially in warm environments.
- 🎯 Garnish Placement: Position the cherry halves at the highest points of the whipped cream peaks; this creates a visual focal point that draws the eye upward, making the dessert appear taller.
- 🎯 Portion Scaling: When serving larger groups, increase each component proportionally. The portion adjuster on the recipe card recalculates quantities automatically, ensuring consistency.
"Dessert is the most important part of a meal; it’s the sweet finale that lingers in memory." — Chef Dominique Ansel
🔄 Variations & Adaptations
The banana split is a flexible canvas—feel free to experiment with flavors, textures, and dietary needs.
🥬 Vegetarian/Vegan Version
Swap dairy ice cream for coconut‑milk or almond‑milk based ice cream. Replace whipped cream with coconut whipped cream (chill a can of full‑fat coconut milk, scoop out the solidified cream, and whip with a bit of maple syrup). Use agave‑based chocolate sauce and ensure all toppings are free from animal products.
- Vegan chocolate sauce: melt dark chocolate with a splash of coconut oil.
- Vegan nuts: toasted almond slivers add crunch without dairy.
🌶️ Flavor Variations
Explore global twists by incorporating spices and regional ingredients.
Spicy Mexican Twist:
Add a pinch of cayenne to the chocolate sauce and garnish with toasted chili‑lime peanuts for a subtle heat that complements the sweetness.
Mediterranean Version:
Replace strawberry sauce with a thin drizzle of honey‑orange glaze and sprinkle crumbled pistachios and a dusting of ground cardamom over the whipped cream.
Asian Fusion:
Use green tea (matcha) ice cream for a bitter contrast, drizzle with black sesame caramel, and top with toasted sesame seeds and sliced fresh mango.
⚠️ Dietary Adaptations
Gluten‑Free:
All components are naturally gluten‑free; just ensure that any pre‑packaged sauces or toppings are certified gluten‑free.
Lactose‑Free:
Use lactose‑free ice cream or sorbet, coconut whipped cream, and dairy‑free chocolate sauce made with coconut milk.
Low‑Calorie:
Reduce the amount of whipped cream by half, choose a light fruit‑based sauce (pureed strawberries with a splash of orange juice), and use a sugar‑free sweetener in the chocolate sauce.
👶 Kid‑Friendly Version
For younger palates, use only vanilla and chocolate ice cream, keep the sauces simple, and replace nuts with finely chopped pretzel sticks for a milder crunch. Serve with a side of fresh fruit slices (strawberries, kiwi) to add natural sweetness.
📦 Storage & Reheating
🧊 Conservation
Refrigerator:
- Duration: 1 day (ice cream will soften)
- Recommended container: airtight glass dish with a tight‑fitting lid
- Tip: Cover the assembled split with plastic wrap to prevent ice crystals forming on the surface.
Freezer:
- Duration: Up to 2 weeks
- Method: Freeze the assembled split on a flat tray, then transfer to a freezer‑safe container.
- Defrosting: Move to the refrigerator for 30 minutes before serving, then let sit at room temperature for 5 minutes.
💡 For best texture, only freeze the components separately (bananas, ice cream, sauces) and assemble fresh.
♨️ Reheating
🔥 Oven (Recommended):
- Preheat to 150°C (300°F).
- Cover the split loosely with aluminum foil to protect toppings.
- Heat for 5‑7 minutes, just enough to soften the ice cream slightly without melting completely.
- Remove foil and heat an additional 2 minutes if you prefer a warm banana texture.
⚡ Microwave (Quick):
- Place the split on a microwave‑safe plate.
- Cover with a microwave‑safe lid.
- Heat on medium power for 30 seconds, check, then continue in 10‑second bursts.
- Stir sauces gently after heating to redistribute.
🍳 Skillet:
If you want a warm banana base, briefly sear the banana halves in a hot non‑stick skillet for 30 seconds per side, then assemble the ice cream and toppings immediately.
🍷 Perfect Pairings
🥗 Side Dishes
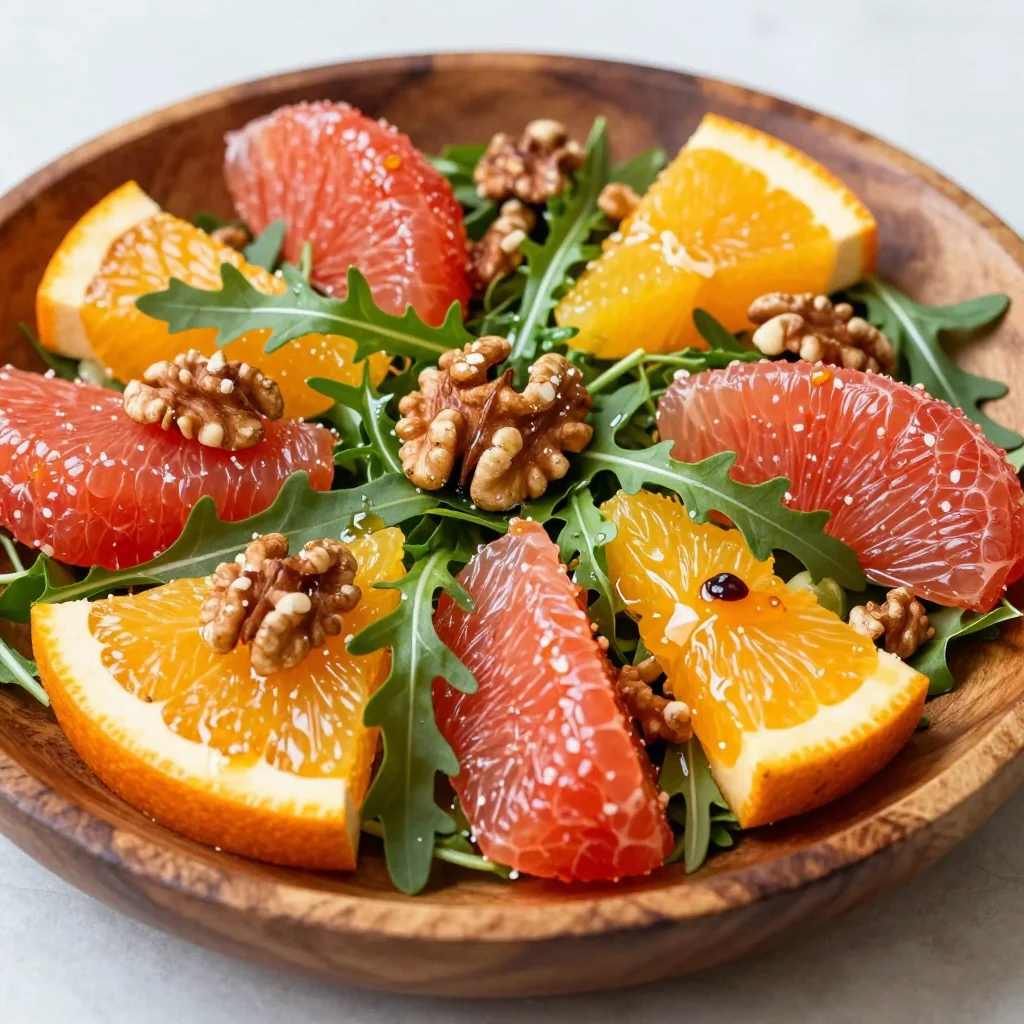
- Fresh Fruit Salad: A light mix of berries, kiwi, and mint balances the richness of the split.
- Light Citrus Sorbet: Serves as a palate cleanser between bites.
- Mini Shortbread Cookies: Adds a buttery crunch without overpowering the dessert.
🍷 Wine & Beverage Pairings
- Moscato d'Asti: Its low alcohol and fruity bubbles complement the sweet sauces.
- Riesling (off‑dry): The acidity cuts through the richness of the whipped cream.
- Non‑Alcoholic: Sparkling water with a splash of passion fruit juice adds a refreshing zest.
🍰 Complementary Courses
Start with a light citrus vinaigrette salad, follow with the banana split as the main dessert, and finish with a delicate vanilla bean panna cotta topped with a drizzle of caramel for a cohesive sweet finale.
❓ Frequently Asked Questions
Q: Can I prepare the banana split a few hours in advance?
A: Yes, you can slice the bananas and keep them in a sealed container with a slice of lemon to prevent browning. Keep the ice cream and sauces chilled separately. Assemble the split no more than 30 minutes before serving to maintain optimal texture.
Q: What’s the best way to keep the sauces from separating?
A: Gently warm the sauces over low heat and stir continuously. Adding a teaspoon of corn syrup or glucose stabilizer helps maintain a smooth, glossy texture. Store sauces in airtight jars in the refrigerator when not in use.
Q: I’m allergic to nuts. What can I substitute?
A: Replace chopped nuts with toasted coconut flakes or crushed pretzel sticks for crunch. Both provide texture without triggering nut allergies.
Q: How do I avoid the bananas turning brown?
A: After slicing, lightly brush the banana surfaces with lemon juice or a mixture of lemon juice and water (1:2). This acid slows oxidation and keeps the fruit looking fresh.
Q: Can I use frozen bananas?
A: Yes, frozen bananas work well for a cooler texture. Slice them while still slightly frozen and allow them to sit at room temperature for 5 minutes before assembling to avoid cracking.
Q: Is there a way to make the dessert lower in sugar?
A: Use sugar‑free chocolate and strawberry sauces, opt for a low‑sugar ice cream, and replace the sweetened whipped cream with an unsweetened coconut cream lightly flavored with vanilla extract.
🎉 Let’s Get Cooking!
This Banana Split with All Toppings combines nostalgia, creativity, and a burst of flavors that will make any gathering memorable. By following the detailed steps, you’ll achieve a dessert that looks as spectacular as it tastes—crisp bananas, velvety ice cream, glossy sauces, and a kaleidoscope of toppings. Remember, the key lies in quality ingredients, temperature control, and a playful spirit.
Now it’s your turn: snap a photo, share it on social media, and let us know how you personalized the recipe. Your feedback helps the community grow, and your creativity inspires the next delicious adventure.
Have you tried this recipe?
Leave a comment and rating below! Share your photos on Instagram with #BananaSplitBliss to be featured.
Banana Split with All Toppings
A vibrant, over‑the‑top banana split loaded with sauces, whipped cream, and colorful toppings.
📝 Ingredients
Bananas
Ice Cream
Sauces
Toppings
👨🍳 Instructions
- 1
Slice each banana lengthwise to create three halves per fruit; arrange them in a “V” shape on a large serving platter.
- 2
Warm the chocolate, strawberry, and caramel sauces over low heat until pourable; transfer to squeeze bottles.
- 3
Whip the heavy cream with vanilla extract and powdered sugar until soft peaks form; keep chilled.
- 4
Scoop two scoops of each ice‑cream flavor between the banana halves, alternating colors for visual appeal.
- 5
Drizzle chocolate sauce over chocolate scoops, strawberry sauce over strawberry scoops, and caramel over vanilla and mango scoops.
- 6
Top each scoop with generous dollops of whipped cream, then sprinkle nuts, sprinkles, crushed pineapple, and place cherry halves.
- 7
Inspect for balance; adjust any uneven drizzles or topping distribution.
- 8
Serve immediately with long dessert spoons; enjoy the contrast of cold ice cream and warm banana.
- 9
Optional: For a warm twist, briefly sear banana halves in a hot skillet before assembling.
- 10
Capture a photo, share on social media, and relish the compliments!
🥗 Nutritional Information (per serving)
*Values are estimates based on standard ingredient brands.
📚 You Might Also Like
Strawberry Shortcake Delight
Silky Chocolate Mousse
Tropical Mango Sorbet


💬 Comments & Reviews
Leave a Comment
[User comments will appear here]