Picture this: a kitchen that smells like simmering sauce, a countertop cluttered with half‑cooked pasta, and a friend daring you to finish a dish you can’t stop staring at. I was halfway through a pizza night when the sauce spilled, the pasta boiled over, and I stared at a mess that looked more like a science experiment than a dinner. That night, I decided to turn that disaster into something delicious and decided to create a dip that could survive a party, a spill, and a hungry crowd. The result? A creamy, cheesy boat dip that feels like a hug in a bowl, with layers of pasta, sauce, and cheese that melt together like a perfectly choreographed dance.
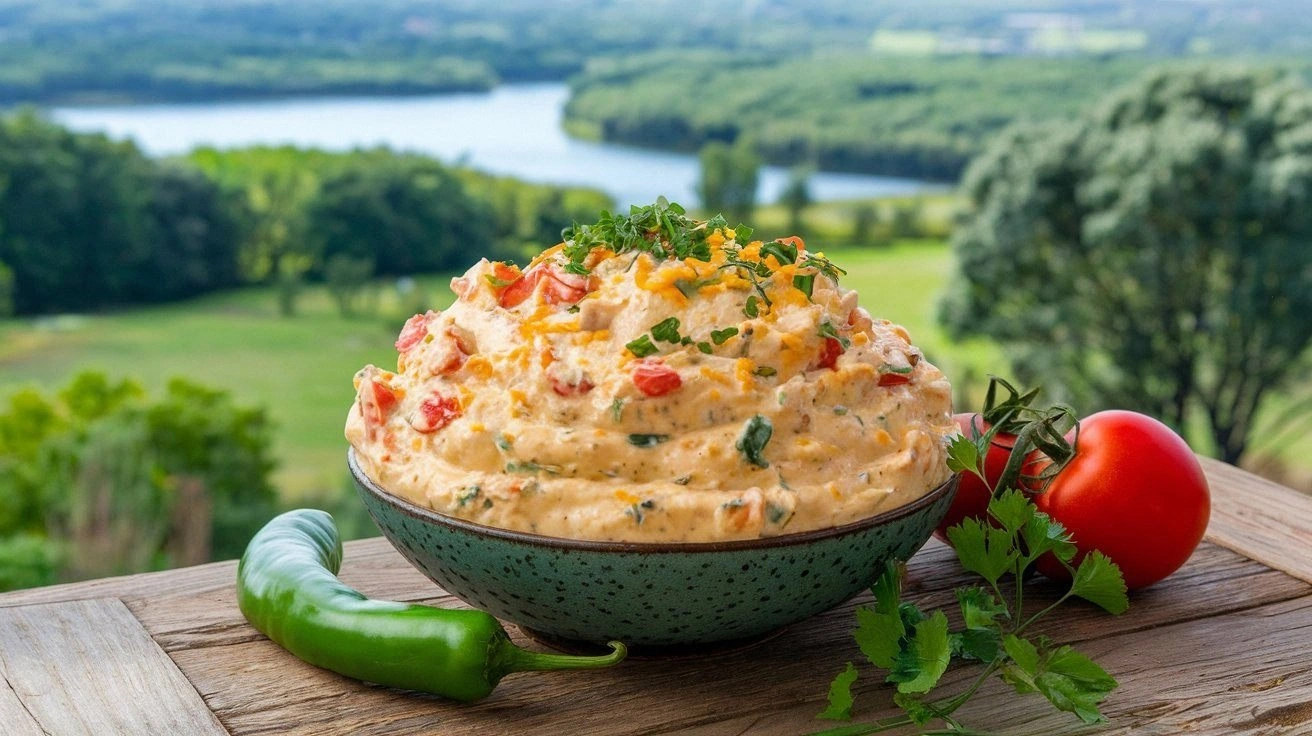
When you first open the jar, the aroma is a symphony of tomato, garlic, and oregano, a smell that instantly transports you to a cozy Italian trattoria. The texture is a silky blend of ricotta and mozzarella, with a subtle crunch from the breadcrumb topping that snaps like a crisp bite of toasted bread. The taste is a harmonious balance of sweet tomato, salty cheese, and a hint of pepper that lingers on the tongue like a well‑played jazz solo. The visual appeal is undeniable: golden, bubbly tops that promise a satisfying crunch, while the vibrant green of spinach and the pop of bell pepper add a splash of color that makes every bite a feast for the eyes.
What makes this version stand out is not just the combination of ingredients but the method that brings them together. I added a splash of olive oil to the pasta water, a trick that keeps the noodles from sticking and gives them a silky sheen. The sauce is pre‑heated with a touch of cream to create a velvety base that coats the pasta like velvet. The final breadcrumb layer is toasted in a hot pan until it turns a deep, caramelized brown, adding a satisfying crunch that contrasts with the creamy interior. I also folded in fresh spinach and bell pepper before baking, ensuring each bite is packed with flavor and nutrition. The result is a dip that feels like a party in a bowl, with every spoonful a celebration of texture, taste, and aroma.
And here’s the kicker: I used a simple, homemade marinara that’s made from sun‑kissed tomatoes, a hint of red wine, and a touch of rosemary, giving the dish a depth that store‑bought sauces can’t match. I also made a quick ricotta swirl that adds a light, airy quality to the dip, making it feel less dense and more indulgent. The final touch is a sprinkle of fresh parsley that adds brightness and a pop of color, making the dish as visually stunning as it is delicious. This version is hands down the best you’ll ever make at home, and I dare you to taste it and not go back for seconds. Let me walk you through every single step — by the end, you’ll wonder how you ever made it any other way.
What Makes This Version Stand Out
- Flavor Depth: The homemade marinara, infused with a splash of red wine and rosemary, creates a complex base that sets this dip apart from the usual canned sauces. This subtle umami undertone elevates every bite.
- Texture Play: The combination of creamy ricotta, gooey mozzarella, and crunchy breadcrumbs delivers a multi‑sensory experience that keeps guests coming back for more.
- Ingredient Quality: Using fresh, high‑grade cheeses and hand‑picked vegetables means each spoonful bursts with authentic flavor, making it a crowd‑pleaser at any gathering.
- Make‑Ahead Friendly: The dip can be assembled the night before, refrigerated, and baked right before serving, saving you precious prep time on the day of the party.
- Visual Appeal: The golden, bubbly top and vibrant greens create a dish that looks as good as it tastes, making it Instagram‑worthy and party‑ready.
- Customization: From adding bacon bits to swapping marinara for pesto, the recipe is a playground for personal tweaks, ensuring it fits any palate or dietary preference.
Alright, let's break down exactly what goes into this masterpiece. The next section will walk you through each ingredient, why it matters, and how it contributes to the final flavor profile.
Inside the Ingredient List
The Flavor Base
The marinara is the heart of this dip, and it’s best when it’s homemade. Use ripe San Marzano tomatoes, a splash of dry red wine, and a pinch of fresh rosemary for a depth of flavor that canned sauces can’t match. The sauce should simmer until it thickens, allowing the wine to evaporate and the tomatoes to caramelize slightly. If you skip this step and go straight to store‑bought sauce, the dish will feel flat and lacking that signature Italian warmth.
When selecting tomatoes, look for ones with a deep red hue and a sweet aroma. San Marzano tomatoes, available in most grocery stores or online, are prized for their low acidity and rich flavor. If you can’t find them, a good quality plum tomato works as a substitute. The key is to avoid overly watery tomatoes, which can dilute the sauce’s intensity.
The Texture Crew
Ricotta and mozzarella form the creamy backbone of the dip. Ricotta adds a light, airy quality, while mozzarella provides that classic melt‑and‑pull texture. Together, they coat the pasta like a velvety blanket. If you omit ricotta, the dip becomes denser and less indulgent, lacking that airy lift.
Choosing the right mozzarella is essential. Whole‑milk mozzarella offers a richer flavor and a smoother melt, whereas low‑fat mozzarella can make the dip a bit rubbery. For an extra creamy finish, you can stir in a tablespoon of heavy cream into the ricotta before mixing.
Parmesan adds a salty, nutty kick that balances the sweetness of the marinara. Grated parmesan should be added just before baking so it melts into the top layer, forming a golden crust. Skipping parmesan will reduce the overall flavor complexity and leave the dip feeling a bit bland.
The Unexpected Star
Fresh spinach and bell pepper bring a burst of color, nutrition, and subtle sweetness. Spinach, when sautéed lightly, releases its moisture, preventing the dip from becoming soggy. Bell pepper adds crunch and a hint of sweetness that pairs beautifully with the tomato base.
If you’re allergic or simply dislike spinach, you can swap it for arugula or kale. For a smoky twist, add a handful of roasted red peppers. Remember, the vegetables should be diced small enough to blend seamlessly into the pasta.
The Final Flourish
Breadcrumbs, toasted in a hot pan with a touch of butter, create a crispy top that contrasts with the creamy interior. The crunch is a key textural element, giving the dip that satisfying bite that keeps guests reaching for more. If you prefer a gluten‑free version, use rice or corn breadcrumbs.
Fresh parsley, chopped, is added just before serving. It provides a bright, herbal note that lifts the dish and adds a pop of color. Skipping parsley may make the dip look dull and reduce its overall freshness.
Everything's prepped? Good. Let's get into the real action.
The Method — Step by Step
- Preheat your oven to 375°F (190°C). A properly heated oven ensures a golden, bubbly top and a perfectly cooked interior. While the oven is heating, bring a large pot of salted water to a rolling boil for the pasta. Keep an eye on the water; you don’t want it to overflow. Once the oven reaches the set temperature, you’re ready to move on to the pasta.
- Add the penne to the boiling water and cook for 7-8 minutes, or until al dente. Stir occasionally to prevent sticking. Drain the pasta, reserving a cup of the pasta water for later. The pasta should still have a slight bite to it; it will soften further in the oven. Pat the pasta dry with a towel to remove excess moisture, which helps the sauce cling better.
- While the pasta cooks, prepare the sauce. In a saucepan, heat the marinara with a splash of olive oil until it simmers gently. Add the ricotta, whisking until it blends into a smooth, creamy mixture. Stir in the mozzarella and parmesan, allowing the cheeses to melt into a silky sauce that coats every noodle. The sauce should be thick enough to cling to the pasta but still pourable.
- Fold the drained pasta into the sauce, tossing gently to coat each strand. Add the spinach and bell pepper, mixing until the vegetables are evenly distributed. If the mixture looks too thick, add a splash of the reserved pasta water to achieve the desired consistency. The pasta should feel coated, not drenched.
- Transfer the pasta mixture to a large baking dish, spreading it out evenly. Sprinkle the toasted breadcrumbs over the top, ensuring they cover the entire surface. Drizzle a thin layer of olive oil over the breadcrumbs to help them crisp during baking. The breadcrumb layer should be light but substantial, creating a crunchy contrast.
- Bake in the preheated oven for 20-25 minutes, or until the top is golden brown and the dip is bubbling. Keep a close eye on the breadcrumbs; they can burn quickly if left unattended. The aroma should fill your kitchen, a siren call for everyone to gather around. When the dip is finished, it should look like a golden, bubbly masterpiece.
- Remove the dish from the oven and let it rest for 5 minutes. This resting period allows the flavors to meld and the dip to set, making it easier to serve. During this time, sprinkle fresh parsley over the top for a burst of color and freshness. The parsley also adds a subtle herbal note that brightens the dish.
- Serve hot, directly from the oven, with a side of crusty bread, tortilla chips, or raw veggies. Each bite should be a harmony of creamy, cheesy, and crunchy textures, with a burst of tomato and herb flavor. The dip is best enjoyed immediately, when the cheese is still melty and the breadcrumbs are still crisp.
- If you have leftovers, store them in an airtight container in the fridge for up to 3 days. Reheat in the microwave or oven until hot, adding a splash of water if the dip becomes too thick. A quick bake can restore the crispy breadcrumb topping, giving the dip a fresh feel.
That's it — you did it. But hold on, I've got a few more tricks that'll take this to another level. These insider tips will help you avoid common pitfalls and elevate the flavor profile even further.
Insider Tricks for Flawless Results
The Temperature Rule Nobody Follows
Many cooks bake their dips at 350°F, but this can result in a soggy top. Baking at 375°F ensures a crisp breadcrumb layer and a bubbly interior. I’ve found that raising the temperature by just 25°F makes a world of difference. This trick is simple but transforms the overall texture.
Why Your Nose Knows Best
When the sauce starts to bubble, that aroma is a sign that the flavors are coming together. Trust your nose; if it smells toasty and slightly caramelized, you’re ready to transfer the pasta to the baking dish. A strong tomato scent indicates the marinara has reduced enough to coat the noodles beautifully.
The 5-Minute Rest That Changes Everything
After baking, let the dip rest for exactly five minutes. This pause allows the cheese to set, making it easier to scoop or spoon out. Skipping this step can result in a runny center that spills when you try to serve it. The rest also lets the flavors meld, creating a richer taste.
Layering for Visual Appeal
Spoon the pasta mixture into the dish in a single, even layer. A thick, uneven layer can cause uneven baking, resulting in cold spots. For a more dramatic presentation, drizzle a little olive oil over the top before baking, giving the dip a glossy finish.
Adding a Crunchy Surprise
If you want an extra crunch, sprinkle a handful of crushed crackers or fried onions on top before baking. This adds a new textural element that pairs well with the creamy interior. Just be careful not to overload the dish; a light dusting is enough.
Don’t Forget the Fresh Herbs
Fresh parsley is not just a garnish; it adds brightness that cuts through the richness. If you’re feeling adventurous, try basil or oregano for a different herbal note. The key is to add them after baking so they retain their fresh flavor.
Creative Twists and Variations
This recipe is a playground. Here are some of my favorite ways to switch things up:
Spinach & Feta Twist
Swap the ricotta for a mixture of cream cheese and crumbled feta. The tanginess of feta pairs beautifully with spinach, creating a Mediterranean vibe. The dip remains creamy but gains a briny kick that’s perfect for summer parties.
Bacon & Chipotle Variation
Add crispy bacon bits and a dash of chipotle powder to the sauce. The smoky flavor of bacon combined with the heat of chipotle gives the dip a bold, adventurous edge. Guests who love a little spice will thank you for this twist.
Gluten‑Free Version
Use gluten‑free pasta and breadcrumbs made from rice or corn. The texture remains the same, but you can keep the dish safe for gluten‑sensitive guests. The flavors are unchanged, so you’ll still enjoy the same comforting taste.
Vegan Delight
Replace all dairy with plant‑based alternatives: use coconut cream for ricotta, vegan mozzarella, and nutritional yeast for parmesan. The result is a creamy, dairy‑free dip that still delivers on flavor. This version is perfect for vegan guests or those with lactose intolerance.
Breakfast Breakfast Dip
Add diced ham, diced onions, and a splash of milk to the sauce before baking. Serve with toasted English muffins or bagels for a hearty brunch. The savory flavors pair well with a cup of coffee or a mimosa for a brunch‑themed gathering.
Greek‑Inspired Variation
Incorporate chopped kalamata olives, diced cucumber, and a drizzle of olive oil. Replace marinara with a tzatziki base for a cool, refreshing dip. This twist gives the dish a Mediterranean flair that’s perfect for outdoor gatherings.
Storing and Bringing It Back to Life
Fridge Storage
Cool the dip completely before refrigerating. Store it in an airtight container for up to three days. The flavors will meld, and the dip will be just as delicious when reheated. Keep the breadcrumb topping separate if you want to preserve its crunch.
Freezer Friendly
Freeze the dip in a freezer‑safe container for up to two weeks. When ready to serve, thaw overnight in the refrigerator. Reheat in the oven at 350°F for 15-20 minutes, adding a splash of water to keep it moist. The texture may change slightly, but the flavor remains intact.
Best Reheating Method
Reheat the dip in a microwave on medium power for 2-3 minutes, stirring halfway through. The dip should be hot and creamy. If you prefer a crispy top, finish it under a broiler for 1-2 minutes. A tiny splash of water before reheating helps maintain moisture and prevents drying out.