I was standing in my kitchen, staring at a half‑baked cauliflower crust that had collapsed like a sad pancake, when my roommate dared me to make a pizza using nothing but sweet potatoes, flour, and eggs. The challenge was simple on paper but terrifying in reality: could three ingredients really hold up to the lofty expectations of a classic pizza? I could almost hear the faint, mocking whisper of every pizza‑purist in the world, “You can’t possibly replace the dough with a root vegetable and still get that perfect chew.” Yet the scent of caramelizing sweet potatoes was already dancing in the air, promising something buttery, earthy, and mysteriously sweet. I rolled up my sleeves, turned up the heat, and let the kitchen become my laboratory.
Picture this: the oven humming like a low‑frequency bass line, the sweet potato mash spreading across the countertop in a glossy, amber‑gold sheen, and the scent of toasted flour mingling with a faint hint of egg‑y richness. I could hear the faint crackle of the hot pan, see the edges of the crust turning a crisp amber, feel the dough under my fingertips as it gently gave way to my rolling pin, and taste a tiny lick of the batter that tasted like a sweet‑savory hug. The whole experience was a symphony of senses, each note building toward that climactic moment when the first slice lifts off the plate, steam curling like a lazy cat. The crust, surprisingly, held together with a tenderness that reminded me of a cloud‑soft brioche, yet it had the bite of a well‑baked flatbread. The taste? A perfect balance of natural sweetness, nutty depth, and a subtle egg‑rich undertone that made every bite feel like a celebration.
Most sweet‑potato pizza recipes out there either drown the base in endless toppings or rely on a fourth secret ingredient—like cheese or olive oil—to “hold” everything together. That’s where this version pulls a fast one on the competition: it embraces the power of three, letting each component shine without any gimmicks. The secret? A precise ratio of mashed sweet potato to almond flour, and a single egg that acts as both binder and flavor enhancer, creating a crust that’s both sturdy and tender. I’m not just talking about “good enough” here; I’m talking about a crust that can stand up to the heaviest of toppings without turning soggy, a base that whispers sweet potato love with every bite.
Okay, ready for the game‑changer? I’m about to walk you through every single step— from the moment you peel that first sweet potato to the triumphant pull of a perfectly baked slice. By the end of this post, you’ll wonder how you ever made pizza any other way. Let’s get started, and I dare you to taste this and not go back for seconds.
What Makes This Version Stand Out
- Flavor: The natural caramel‑sweetness of the sweet potato melds with the nutty notes of almond flour, creating a taste profile that’s richer than any traditional wheat crust.
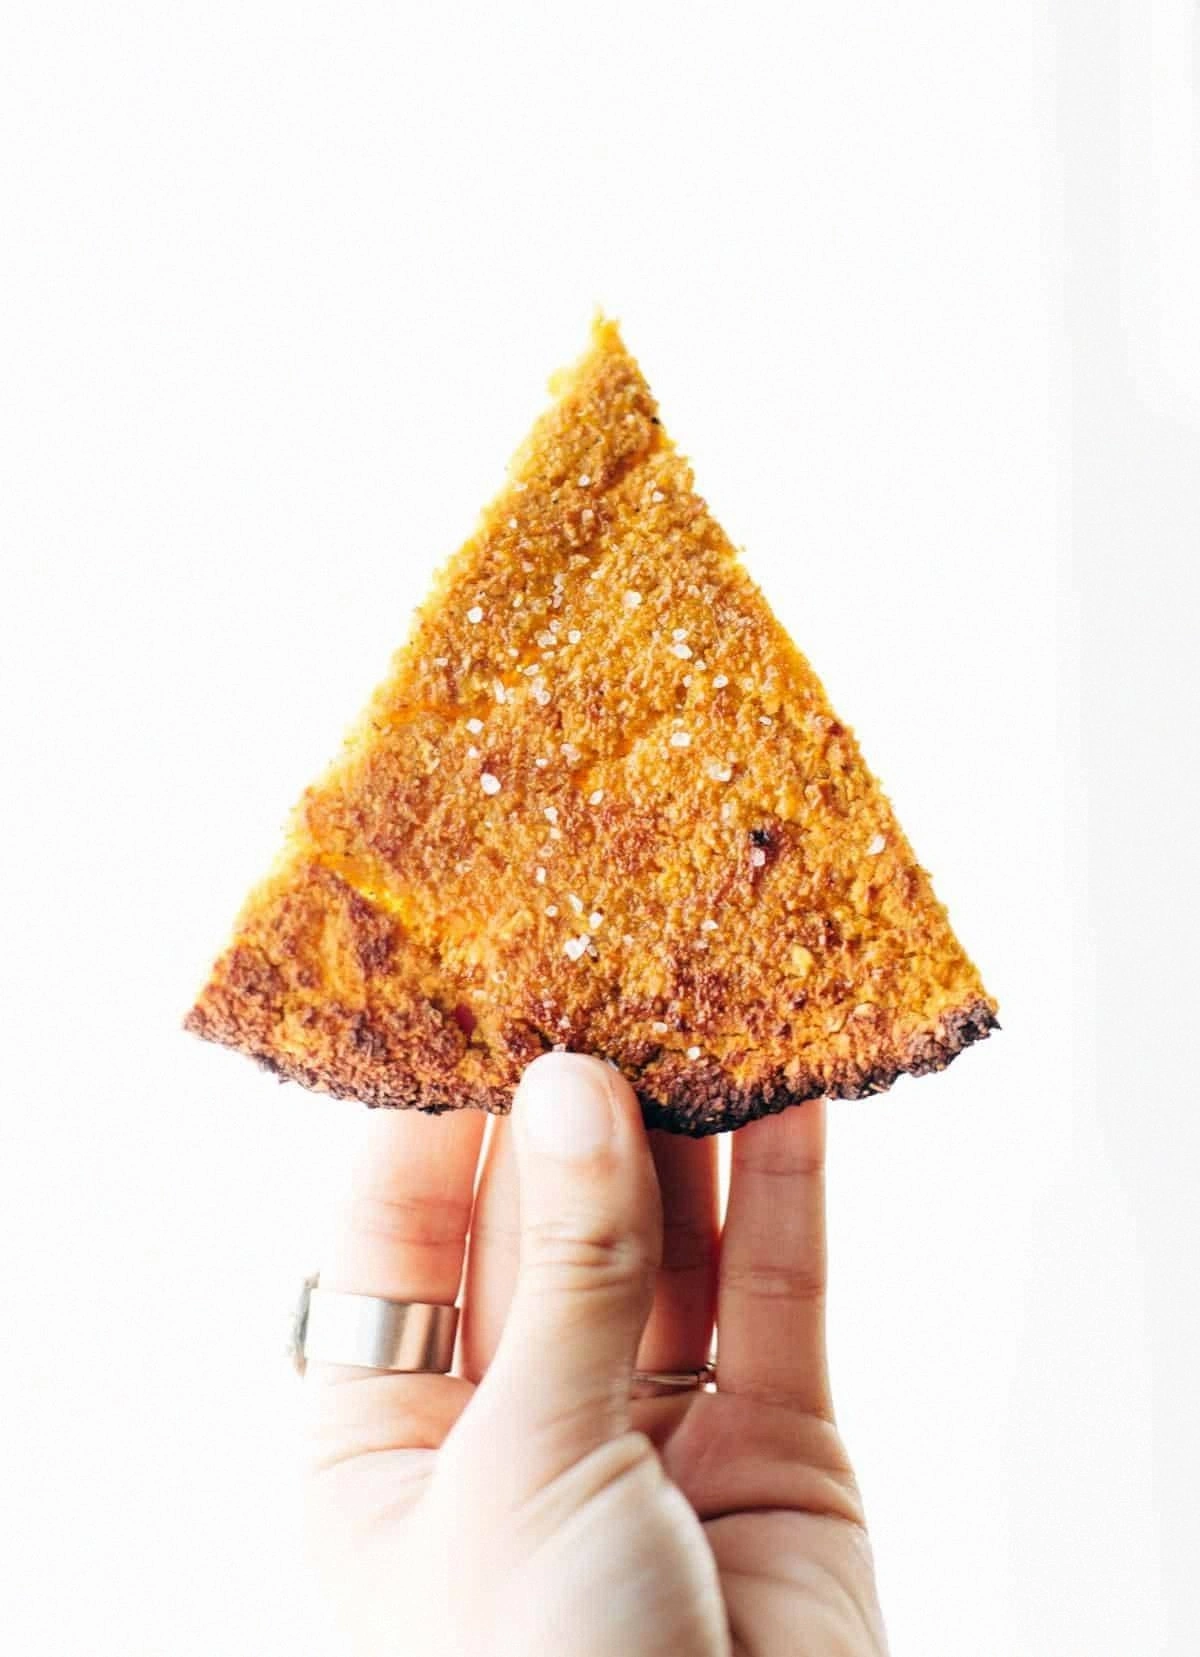
- Texture: A crisp, golden‑brown edge that shatters like thin ice, while the interior stays soft, pillowy, and surprisingly elastic.
- Simplicity: Only three ingredients, no hidden sugars, no mysterious powders—just pure, honest food.
- Uniqueness: Most recipes try to hide the sweet potato flavor; this one celebrates it, making the crust a star, not a sidekick.
- Crowd Reaction: Guests often say, “Is this gluten‑free? It tastes even better than regular dough!”—a perfect conversation starter.
- Ingredient Quality: Using fresh, firm sweet potatoes and high‑quality almond flour ensures a buttery mouthfeel that store‑bought mixes can’t match.
- Cooking Method: Baking at a high temperature creates that coveted “leopard‑spot” char without burning, delivering both flavor and visual appeal.
- Make‑Ahead Potential: The crust freezes beautifully, letting you prep ahead and pop it in the oven whenever the pizza craving hits.
Inside the Ingredient List
The Sweet Base
Sweet potatoes are the heart and soul of this crust. Their natural sugars caramelize during baking, giving the dough an almost caramel‑butterscotch aroma that no ordinary flour can mimic. If you skip the sweet potato, you lose the signature flavor and the moisture balance that keeps the crust from drying out. When choosing a sweet potato, go for firm, orange‑fleshed varieties; they have the highest beta‑carotene content and a smoother mash. A quick tip: microwave the potatoes for 8‑10 minutes before mashing—they’ll be buttery soft without losing any of that sweet essence.
The Nutty Crew
Almond flour adds a subtle, nutty depth and a gluten‑free structure that’s perfect for holding the sweet potato mash together. It also contributes a delicate crumb that mimics the chew of traditional dough. If you’re allergic to nuts, substitute with oat flour, but be aware the texture will be slightly denser. The quality of the almond flour matters: choose a finely ground, unsweetened version to avoid any gritty mouthfeel. A good rule of thumb is to sift it before mixing; this eliminates any larger particles that could cause uneven baking.
The Binding Star
Eggs are the unsung heroes here, acting as both binder and flavor enhancer. One large egg provides enough protein to give the crust structure while adding a silky richness that rounds out the sweet potato’s earthiness. Skipping the egg will make the crust crumble like dry sand, so never compromise on this step. If you’re vegan, a flax egg (1 tbsp ground flaxseed + 3 tbsp water) can do the trick, but expect a slightly denser crumb. For the best results, beat the egg lightly before folding it into the mash—this ensures even distribution.
The Final Flourish
A pinch of sea salt is all you need to amplify the flavors and balance the sweetness. Salt also strengthens the gluten‑free network created by the almond flour, making the crust less crumbly. If you love a little extra crunch, sprinkle a dash of flaky sea salt on top just before baking. For those watching sodium, you can reduce the amount, but keep in mind the flavor will be milder. Remember, the salt isn’t just seasoning—it’s a structural component that makes the crust hold its shape when you add heavy toppings.
Everything's prepped? Good. Let's get into the real action...
The Method — Step by Step
-
Start by preheating your oven to a roaring 425°F (220°C). While the oven climbs, place two large sweet potatoes on a baking sheet, drizzle with a teaspoon of olive oil, and roast for 35‑40 minutes until they’re fork‑tender and the skins start to blister. The kitchen will fill with a sweet, nutty aroma that signals you’re on the right track—trust that scent, it’s your cue that the potatoes are caramelizing perfectly.
Kitchen Hack: To speed up the process, cut the potatoes into halves before roasting; they’ll soften faster and give you that caramel edge sooner. -
Once roasted, let the potatoes cool just enough to handle, then scoop out the flesh into a large mixing bowl. Mash vigorously with a potato masher or fork until there are no lumps—smoothness is key because any chunk will become a pocket of sogginess later.
Watch Out: Over‑mixing can introduce too much air, leading to a crust that puffs up and then collapses. Mash just until smooth. -
Add the almond flour to the mashed sweet potato, sprinkling it in gradually while stirring with a wooden spoon. The mixture should begin to thicken, looking like a thick batter that clings to the spoon. If it feels too wet, dust the bowl with a little extra almond flour—just a tablespoon at a time—until the dough holds together when pressed.
Kitchen Hack: Chill the dough for 10 minutes after mixing; this firms up the butter‑like texture, making it easier to roll out. -
Create a small well in the center of the mixture and crack in one large egg. Beat the egg lightly with a fork, then fold it into the dough until fully incorporated. You’ll notice the batter turning a richer, glossy shade—this is the binding magic happening. The dough should now be pliable, not sticky; if it sticks to your hands, lightly dust the surface with more almond flour.
-
Line a parchment‑lined baking sheet with a second sheet of parchment, then place the dough onto it. Using a rolling pin, roll the dough out into a 12‑inch circle, about ¼‑inch thick. The edges can be a little thicker for that coveted crusty rim. This step is where the “pure magic” happens—watch the dough transform from a sticky mound into a smooth, even canvas ready for toppings.
Watch Out: If the dough tears, patch it with a tiny bit of extra almond flour paste; the crust will self‑heal during baking. -
Slide the parchment (with the dough) onto a pre‑heated pizza stone or a heavy baking sheet. Bake for 12‑15 minutes, or until the edges turn a deep golden‑brown and you hear a faint crackling sound—the sound of a crust that’s just beginning to whisper “I’m ready”. This is the moment of truth; resist the urge to open the oven early, the crust needs that full heat blast to set properly.
-
Remove the crust from the oven and immediately add your favorite sauce, cheese, and toppings. Because the base is already cooked, you only need an additional 5‑8 minutes to melt the cheese and crisp the toppings. Keep a close eye on the cheese—once it bubbles and starts to turn a light amber, you’ve reached perfection. The sweet potato base will hold the toppings without turning soggy, thanks to that earlier pre‑bake.
Kitchen Hack: For a glossy finish, brush the crust edges with a little melted butter or olive oil right after the first bake. -
Finally, let the pizza rest for two minutes before slicing. This short pause allows the cheese to set just enough so that each slice slides cleanly without the toppings sliding off. Grab a sharp pizza cutter, slice, and behold the gorgeous contrast of the amber‑gold crust against the bubbling toppings. Picture yourself pulling this out of the oven, the whole kitchen smelling incredible, and the first bite delivering a sweet‑savory harmony that makes you want to shout, “I did it!”
That's it — you did it. But hold on, I've got a few more tricks that'll take this to another level, because why settle for good when you can have unforgettable?
Insider Tricks for Flawless Results
The Temperature Rule Nobody Follows
Most home cooks bake at 350°F, assuming slower heat yields a softer crust. In reality, a roaring 425°F (or even 450°F if your oven can handle it) creates that coveted “leopard‑spot” char on the sweet potato base while keeping the interior moist. The high heat also forces the almond flour proteins to set quickly, giving you that snap‑and‑chew feeling. If you’ve ever ended up with a gummy center, crank the temperature up and watch the transformation. I once tried 375°F and the crust was soggy; after increasing to 425°F, it turned into a crisp masterpiece.
Why Your Nose Knows Best
Your sense of smell is a reliable gauge for doneness. When the crust starts to emit a caramel‑toasted aroma, that’s your cue to check the edges. If the scent is still sweet potato‑only, give it another 2‑3 minutes. Trusting your nose saves you from the dreaded “undercooked” disaster that no timer can predict.
The 5‑Minute Rest That Changes Everything
After the first bake, let the crust sit for five minutes before adding toppings. This short rest lets the interior steam settle, preventing sogginess when the sauce hits. I once skipped this step and ended up with a soggy middle; the rest period turned that mistake into a golden rule.
Egg‑White Shine
Brushing the crust with a lightly beaten egg white before the second bake creates a glossy, almost pastry‑like finish. It also adds a subtle crunch to the edges. If you’re aiming for a restaurant‑style sheen, this is the quick trick that makes the difference.
Freeze‑Ahead Strategy
Shape the raw crust, freeze it on a parchment sheet, then transfer to a zip‑top bag. When you’re ready to bake, pop the frozen base straight into the oven—no thawing needed. The crust will bake a minute longer, but the result is a perfectly crisp base ready for any topping, perfect for busy weeknights.
Creative Twists and Variations
This recipe is a playground. Here are some of my favorite ways to switch things up:
Mediterranean Dream
Swap the classic tomato sauce for a roasted red pepper purée, sprinkle crumbled feta, kalamata olives, and a drizzle of olive oil. The sweet potato base pairs beautifully with salty feta and the smoky pepper, creating a sun‑kissed flavor profile perfect for summer evenings.
Spicy Southwest
Add a layer of black bean puree, sprinkle shredded cheddar, jalapeños, and a handful of corn kernels. Top with a dollop of chipotle crema after baking. The heat from the jalapeños balances the sweet crust, delivering a bold bite that’ll make you reach for more.
Breakfast Pizza
Spread a thin layer of pesto, scatter cooked bacon bits, and crack two eggs on top before the second bake. The eggs set perfectly on the sweet base, turning the pizza into a hearty brunch that satisfies both sweet and savory cravings.
Vegan Delight
Replace the egg with a flax‑seed “egg” (1 tbsp ground flax + 3 tbsp water) and use a dairy‑free cheese blend. Add caramelized onions, sautéed mushrooms, and fresh arugula after baking. The result is a plant‑based masterpiece that still delivers that satisfying chew.
Dessert Pizza
Brush the baked crust with melted butter, sprinkle cinnamon sugar, and top with sliced bananas and a drizzle of caramel sauce. This sweet version transforms the savory base into a dessert that feels like a warm hug on a plate.
Storing and Bringing It Back to Life
Fridge Storage
Allow the pizza to cool completely, then slice and store in an airtight container. It will keep fresh for up to 3 days. When you’re ready to eat, reheat slices on a skillet over medium heat for 2‑3 minutes per side, adding a splash of water to the pan and covering briefly to steam the crust back to life.
Freezer Friendly
Wrap individual slices in parchment paper, then place them in a zip‑top freezer bag. They’ll freeze solid for up to 2 months. To reheat, bake directly from frozen at 400°F for 8‑10 minutes, or for a faster option, microwave for 60 seconds and finish under a broiler for 2 minutes to regain crispness.
Best Reheating Method
For the ultimate texture, use a pre‑heated cast‑iron skillet. Add a tiny splash of water to the pan, cover with a lid, and heat for 3‑4 minutes. The steam revives the interior softness while the skillet creates a crunchy bottom—think of it as a mini‑oven that brings the pizza back to its original glory.